GitLab Runner is the open source project that is used to run your jobs and send the results back to GitLab. It is used in conjunction with GitLab CI, the open-source continuous integration service included with GitLab that coordinates the jobs.
Continuous Integration (CI) works by pushing small code chunks to your application’s code base hosted in a Git repository, and, to every push, run a pipeline of scripts to build, test, and validate the code changes before merging them into the main branch. This allow you to catch bugs and errors early in the development cycle.
GitLab Runner is written in Go and can be run as a single binary, no language specific requirements are needed.
It is designed to run on the GNU/Linux, macOS, and Windows operating systems. Other operating systems will probably work as long as you can compile a Go binary on them.
You can also use Docker to power your Runner. See here and here for more information (we have a “App Template” available on https://docker.comp.dkit.ie which is detailed in the next tutorial).
Each Runner can be in one of the following states:
- active – Runner is active and can process any new jobs
- paused – Runner is paused and will not receive any new jobs
Setting up your CI Environment
GitLab gives the following instructions under Settings > CI/CD of any project.
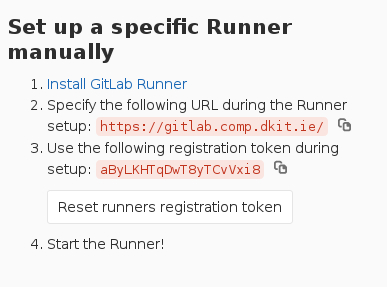
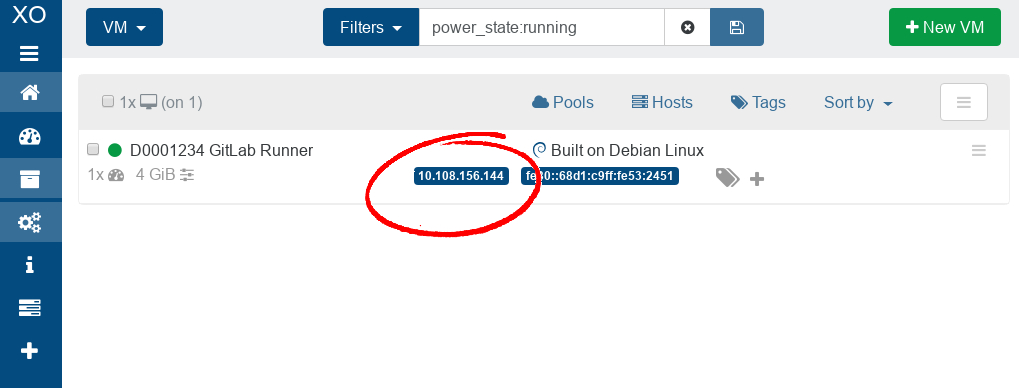
Let’s build our own “specific” Runner using a Debian Stretch (Quick Instance) with 4GB of RAM (loads) inside https://xoa.comp.dkit.ie. We will configure it using the details shown above.
SSH to the machines IP address as administrator. We will issue the correct commands to do the following:
- Switch to root user
- Bring the OS up to date
- Install curl and sudo packages
- Use these packages to install the GitLab Runner package via the official setup script
su
apt-get update && apt-get dist-upgrade
apt-get install curl sudo
curl -L https://packages.gitlab.com/install/repositories/runner/gitlab-runner/script.deb.sh | sudo bash
Now we need to register out Runner using the details provided earlier (URL, token etc).
gitlab-runner register

Runtime platform                                    arch=amd64 os=linux pid=5949 revision=6c154264 version=11.11.0
Running in system-mode.

Please enter the gitlab-ci coordinator URL (e.g. https://gitlab.com/):
https://gitlab.comp.dkit.ie/
Please enter the gitlab-ci token for this runner:
aByLKHTqDwT8yTCvVxi8
Please enter the gitlab-ci description for this runner:
[debian]: DebianVM
Please enter the gitlab-ci tags for this runner (comma separated):

Registering runner... succeeded                     runner=aByLKHTq
Please enter the executor: docker-ssh, parallels, virtualbox, docker+machine, docker-ssh+machine, kubernetes, docker, docker-windows, shell, ssh:
shell
Runner registered successfully. Feel free to start it, but if it's running already the config should be automatically reloaded!
We select SHELL as the executor as this is the easiest option. You can add tags if you wish and then use the tags in your .gitlab-ci.yml file to limit jobs to specific Runners.
We also need to grant sudo nopasswd to user “gitlab-runner” in /etc/sudoers so we don’t encounter any permission errors later on:
gitlab-runner ALL=(ALL) NOPASSWD: ALL
and install packages we need for testing our project. For example:
sudo apt-get install build-essential nodejs
Your Runner will now be available to your project:

Don’t forget to set up your Environment Variables and Pipeline Triggers if need be.
Testing Your Runner
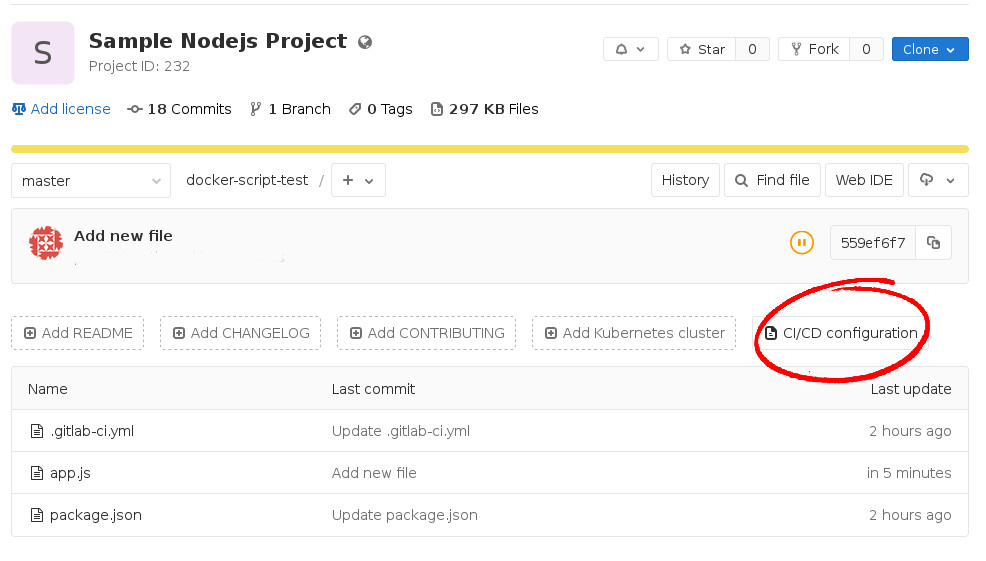
We are going to test our Runner by adding a .gitlab-ci.yml file to our project.
All GitLab CI/CD pipelines are configured using this YAML file called .gitlab-ci.yml within each project. It defines the structure and order of the pipelines and determines:
- What to execute using GitLab Runner.
- What decisions to make when specific conditions are encountered. For example, when a process succeeds or fails.
Read more here before proceeding any further. Seriously.
We also know from working with nodejs previously that our project needs to have a package.json file. Without it, our tests will fail.
The package.json file is a kind of a manifest for your project. It can do a lot of things, completely unrelated. It’s a central repository of configuration for tools, for example. It’s also where npm and yarn store the names and versions of the package it installed. Read this awesome guide for more information.
We’ll create that file now and put in it all the details about our project. You can also generate this file using npm init in your project directory.
{
    "name": "json-lint-express",
    "preferGlobal": true,
    "version": "0.0.1",
    "author": "Joe Bloggs <d0001234@student.dkit.ie>",
    "description": "a simple web server that lints json strings",
    "license": "MIT",
    "engines": {
        "node": ">=0.10"
    },
    "scripts": {
        "start": "node ./app.js"
    },
    "dependencies": {
        "express": "~3.4.7",
        "json-lint": "~0.1.0"
    }
}
You can create this directly on the GitLib server or locally and push to your repository.
Now, we need to do the same for our .gitlab-ci.yml
image: node:latest

stages:
  - build
  - test

cache:
  paths:
    - node_modules/

install_dependencies:
  stage: build
  script:
    - npm install
  artifacts:
    paths:
      - node_modules/

test_with_lab:
  stage: test
  script: npm test
The line
image: node:latest
is particular relevant if you are using Docker as your executor (we are using the shell in this tutorial.)
As you save (or push) this (or any other) file, our Runner will be triggered. If it fails, you will get an email telling you what went wrong (usually a file permission issue or missing package on the Runner itself, but you will need to read the errors carefully are they are quite verbose). Looking under CI/CD > Pipelines you will also see the status as failed.

You can click on failed to see what went wrong. We had quite a few fails until we got our setup right for this tutorial!
However, if and when you finally achieve a status of passed, it will look like this:

Tip: To validate your .gitlab-ci.yml syntax, use the CI Lint tool.
You can now proceed to code and push the rest of your project files. Continuous Integration will be managed by your new Runner going forward! You can edit/view the details of your setup anytime via the Project page.
There are plenty more examples of GitLab CI/CD here. We highly recommend reading through them.


