In this article we’ll show you how to create and deploy a Docker image for an application you have written in Node.js.
As this is primarily a docker tutorial, we will keep our Node.js application nice and simple, just a standard “Hello World” app.
By adding your application as a Dockerfile you gain a lot – you can launch a fully capable development environment on any computer supporting Docker; you don’t have to install libraries, dependencies, download packages, mess with config files etc. The working environment of the application remains consistent across the whole workflow. This means the app runs exactly the same for developer, tester, and client, be it on development, staging or production server.
To get started, fire up a Docker Host (with Dockly) Quick Instance from http://xoa.comp.dkit.ie
Our application will use the Express Framework, one of the most popular Node.js frameworks. Create a new directory and initialize npm:
mkdir helloworld
cd helloworld
npm init
When asked for the details of the application (name, version, etc.), just confirm the default values with enter.
Npm will create a package.json that will hold the dependencies of the app. Let’s add the Express Framework as the first dependency:
npm install express --save
The file should look like this now:
{
  "name": "helloworld",
  "version": "1.0.0",
  "description": "Hello World app",
  "main": "index.js",
  "scripts": {
    "test": "echo \"Error: no test specified\" && exit 1"
  },
  "author": "Joe Bloggs",
  "license": "ISC",
  "dependencies": {
    "express": "^4.17.0"
  }
}
With everything installed, we can create an index.js file with a simple HTTP server that will serve our Hello World website:
//Load express module with `require` directive
var express = require('express')
var app = express()

//Define request response in root URL (/)
app.get('/', function (req, res) {
  res.send('Hello World!')
})

//Launch listening server on port 8081
app.listen(8081, function () {
  console.log('app listening on port 8081!')
})
The application is ready to launch:
node index.js
Go to port 8081 on the IP of your VM in a browser to see the output. Next, we move on the the Docker container part.
Contrary to VMs, the container doesn’t hold the whole operating system – just applications, dependencies, and configuration. This makes Docker containers much lighter and faster than regular VMs.
As you know by now, the Docker container is launched on the basis of a Docker image, a template with the application details. The Docker image is created with instructions written in the Dockerfile. Let’s add our Dockerfile to the directory with our application:
FROM node:latest
WORKDIR /app
COPY package.json /app
RUN npm install
COPY . /app
CMD node index.js
EXPOSE 8081
With the instructions ready all that remains is to run the command docker build, set the name of our image with -t parameter, and choose the directory with the Dockerfile:
docker build -t hello-world .
The application has been “baked” into the image. Now execute the following string to run the container and publish it on the host with the same port 8081:
docker run -t -p 8081:8081 hello-world
-t is important so we can exit by pressing CTRL+C.
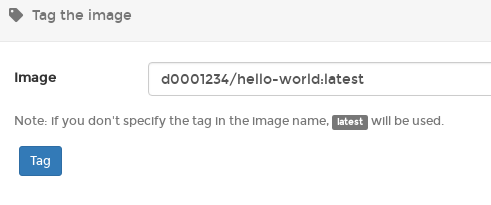
Happy? We are. Let’s tag our image for storing in the DkIT Registry so we can use it again later. Previously we would have done this with
docker build --tag=docker01.comp.dkit.ie:5000/hello-world .
but we are now going to introduce the idea of namespaces, which boils down to keeping all our Dockerfiles under the one “branch” of the registry, much like a directory structure. This is done with something like:
docker build –tag=docker01.comp.dkit.ie:5000/d0001234/hello-world .
and so you would push with
docker push docker01.comp.dkit.ie:5000/d0001234/hello-world
The result is as follows:
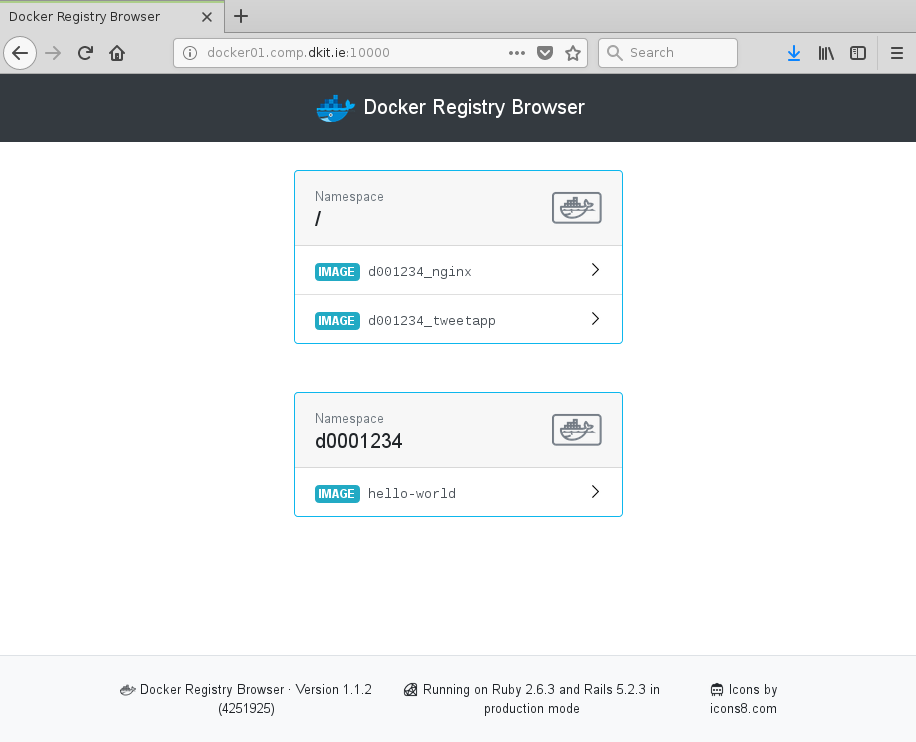
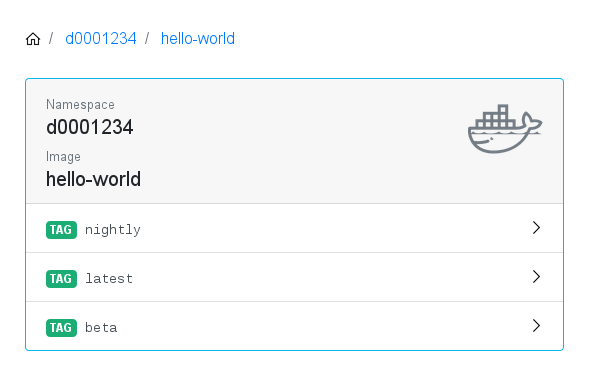
Which makes a lot more sense when you think long term, as eventually a student will have LOTS of Docker images:
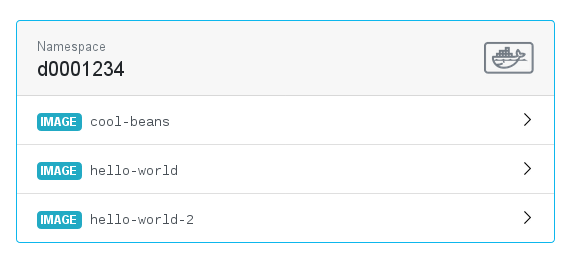
and each image could have LOTS of tags:
Using namespaces keeps all your images together and decreases the chances of you or somebody else accidentally “overwriting” (we use this term very loosely) one just because it has the same name.
As the Registry does not ask for authentication, we are using an “honour system” here where students are not expected to ever use someone else’s namespace. This system also applies to tagging images for the DkIT Registry from inside https://docker.comp.dkit.ie