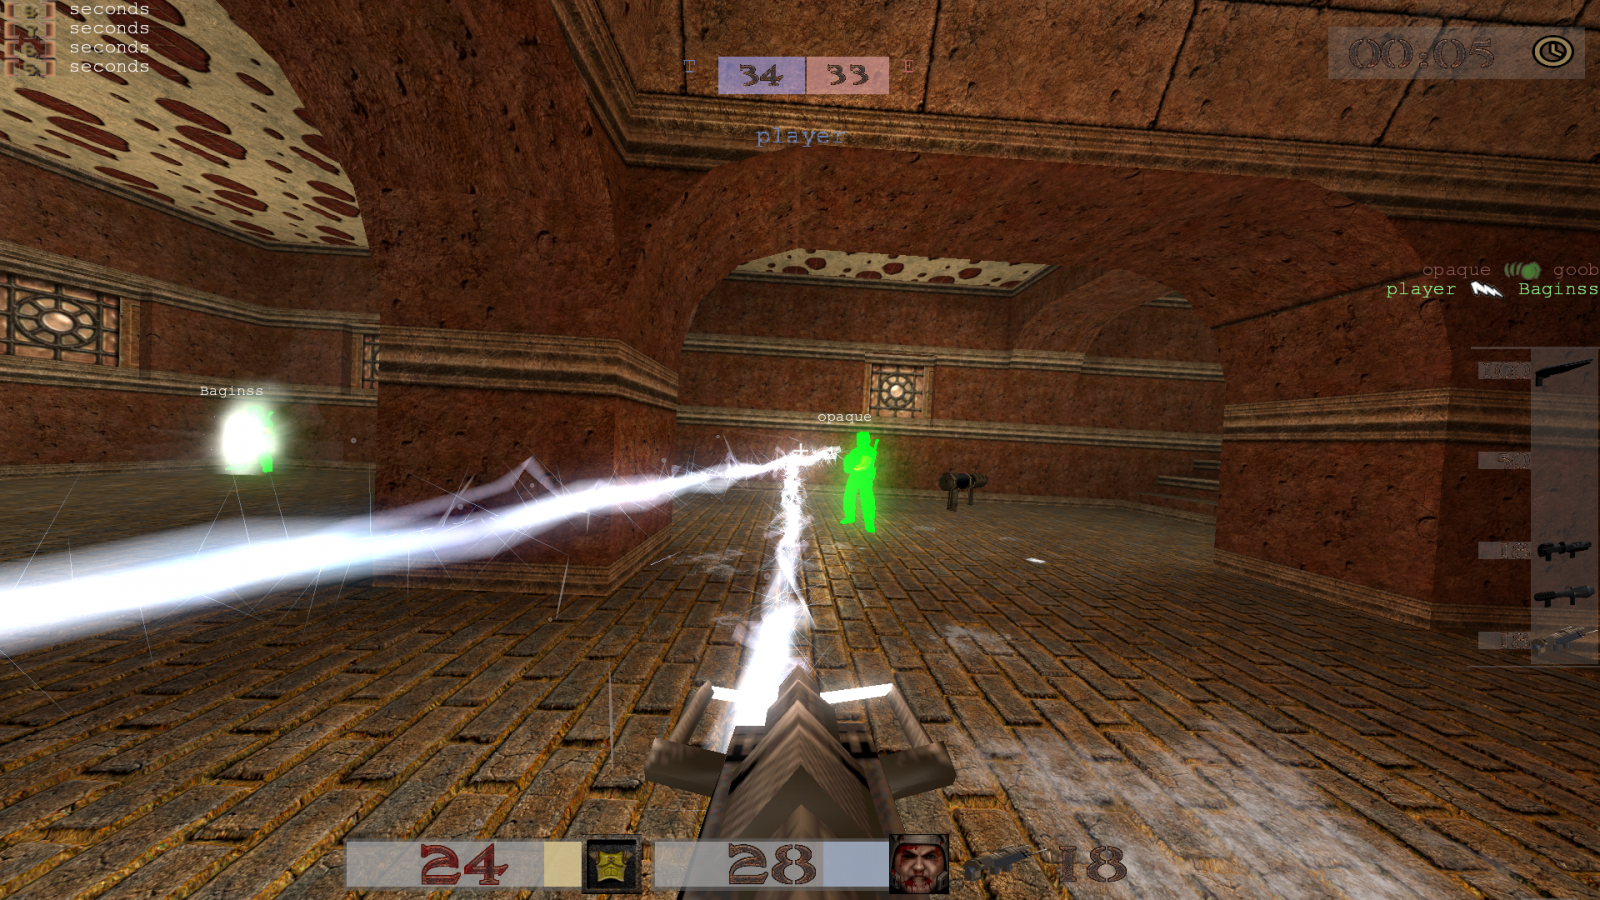
The video game “Quake” turns 25 on Tuesday 22nd June 2021. While this might get some fans of “boomer shooters” excited, everybody else might not realise the significance.
Let’s rectify that!
Quake – release in June 1996, was the natural successor to id Software‘s earlier, and still popular “Doom” series (they are STILL releasing Doom titles, nearly 30 years later).
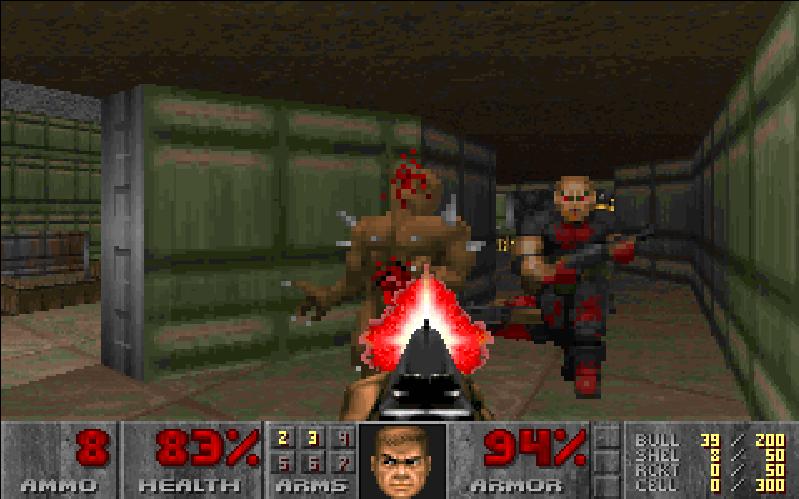
Why Quake is so important though is that the 3D engine created for the game, the first REAL 3D engine at the time, is still used (at least partially) in most of today’s modern games. Nearly EVERY 3D shooter/FPS title out there has some of the Quake code in it… no kidding. Even newer Doom titles!
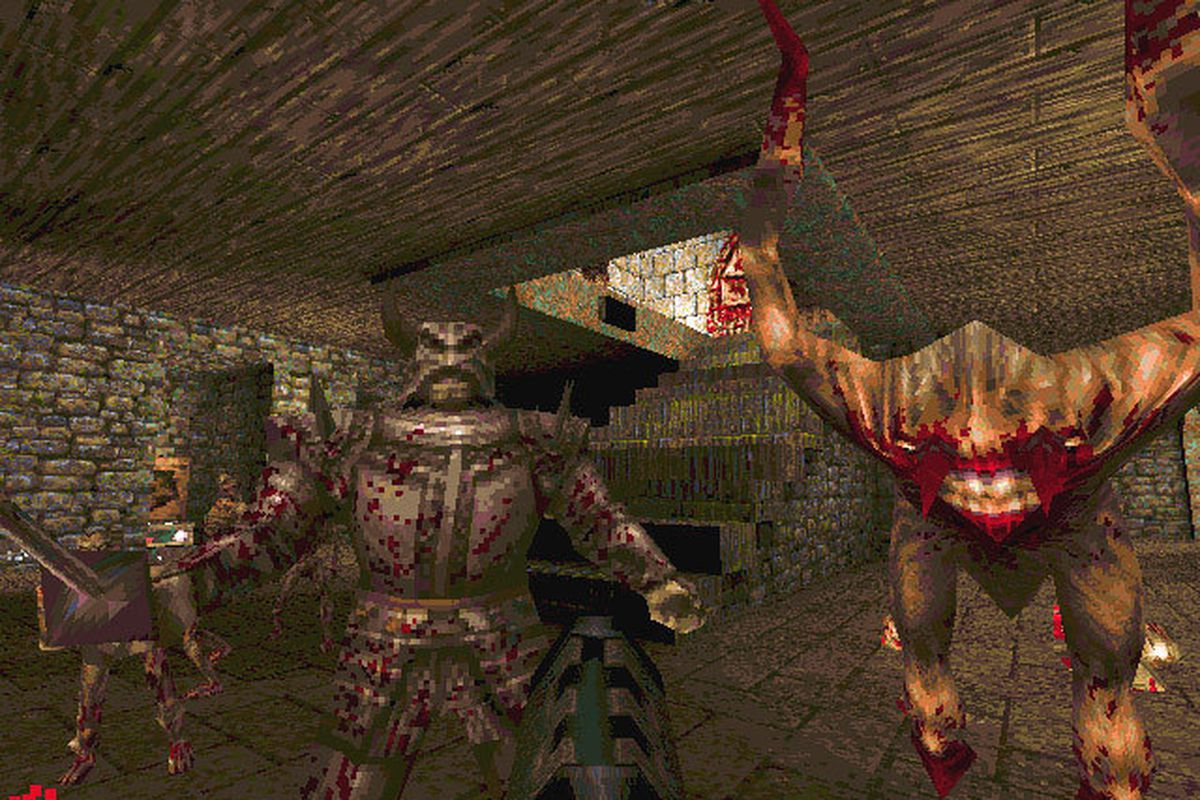
Take a look at this below comparison which shows the flickering light from the original Quake being used in various titles, including the recent VR game “Half-Life: Alyx” (fun fact, the original Half-Life was based DIRECTLY on the Quake engine, they just halved the size of all the models).
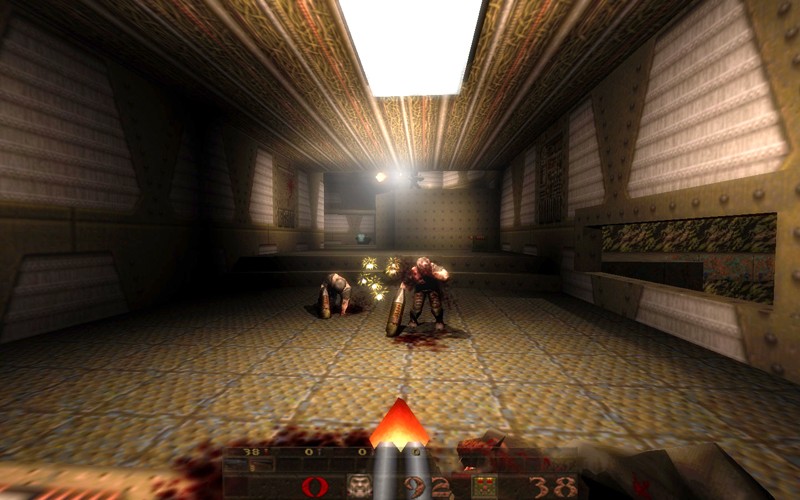
While the single player game in Quake was great (and is STILL great thanks to new engines like DarkPlaces (see below screenshot) and FTEQW which take advantage of modern graphics cards) it is the multiplayer experience, later repackaged as “QuakeWorld” that the game is truly remembered for.
QuakeWorld is still played online to this day and new levels (“maps”) are released regularly by the community (which is HUGE) for competitive players to enjoy.
So, maybe you’re a fan already, or maybe you’d like to see what the fuss is all about? Either way, here follows instructions on setting up your own QuakeWorld server on a Raspberry Pi (any model) so you can have a game with friends for the 25th Anniversary of this incredibly important part of gaming history.
Firstly, visit https://www.quakeonlan.net and download the SD Card image. Then…
Hardware Checklist
You will need the following hardware items before you begin:
- Raspberry Pi 1/2/3/4 (any model, but note that Model A, A+ have no Ethernet Adapter. For RPi Zero, see here instead)
- SD Card (Minimum 8GB)
- Cat 5/5e/6 Ethernet Cable
- HDMI Monitor with HDMI Cable (optional, see below)
- LCD Module Display (optional, see below)
Setting Up Your Raspberry Pi
Write the extracted image (.img) file to an SD card. Etcher is a great, simple tool for this job.

Insert the SD card into a Raspberry Pi and boot while connected to a LAN port on your broadband router and (optionally) a HDMI monitor.

Getting The IP Address Of Your Game Server(s)
The Raspberry Pi will show the server network address on the monitor when booted up.

If you have not connected a monitor, don’t worry, you can still find the Raspberry Pi address from your phone using the the Fing Network Tools on Android or iOS.

If you are a *nix smartass you could also do something like the following at the command line:

or use WireShark with the filter eth.addr[0:3] == B8:27:EB as all Raspberry Pi device MAC addresses start with “B8:27:EB”. There is also the Angry IP Scanner to consider.
If you are willing to make a small hardware purchase, you can even display the IP Address to an LCD Module, which we think is pretty neat!
Connecting To A Game From Your Client
No matter what method you use, connect to the discovered IP Address using the console (¬ or ~ key) in your favorite game client with connect <server ip address> eg. connect 10.2.2.185.
QuakeWorld has been compiled to support both port 26000 and port 27500 so you should be able to connect with any engine you want, even much older ones. Ideally you should use a modern QuakeWorld client capable of downloading missing content from the server.
Game on!

Notes On Power Consumption
You can leave the Raspberry Pi powered on indefinitely if you wish, but check with whoever pays the bill. As a guide, the Pi3B uses only 230 mA when idle (Pi3B+ uses 400mA), which is pretty low compared to other devices (just over $20 per year). It’s about the same as a bedroom clock radio…
