A LAMP (Linux, Apache, MySQL, PHP) stack is a common, free, and open-source web stack used for hosting web content in a Linux environment. Many consider it the platform of choice on which to develop and deploy high-performance web apps (you can also use NGINX as your web server and MariaDB for the database, depending on speed and load requirements).
In this tutorial we will create an Ubuntu 20.04 (LTS) via the XOA Platform and then install a full LAMP Stack for immediate use.
Building The Server
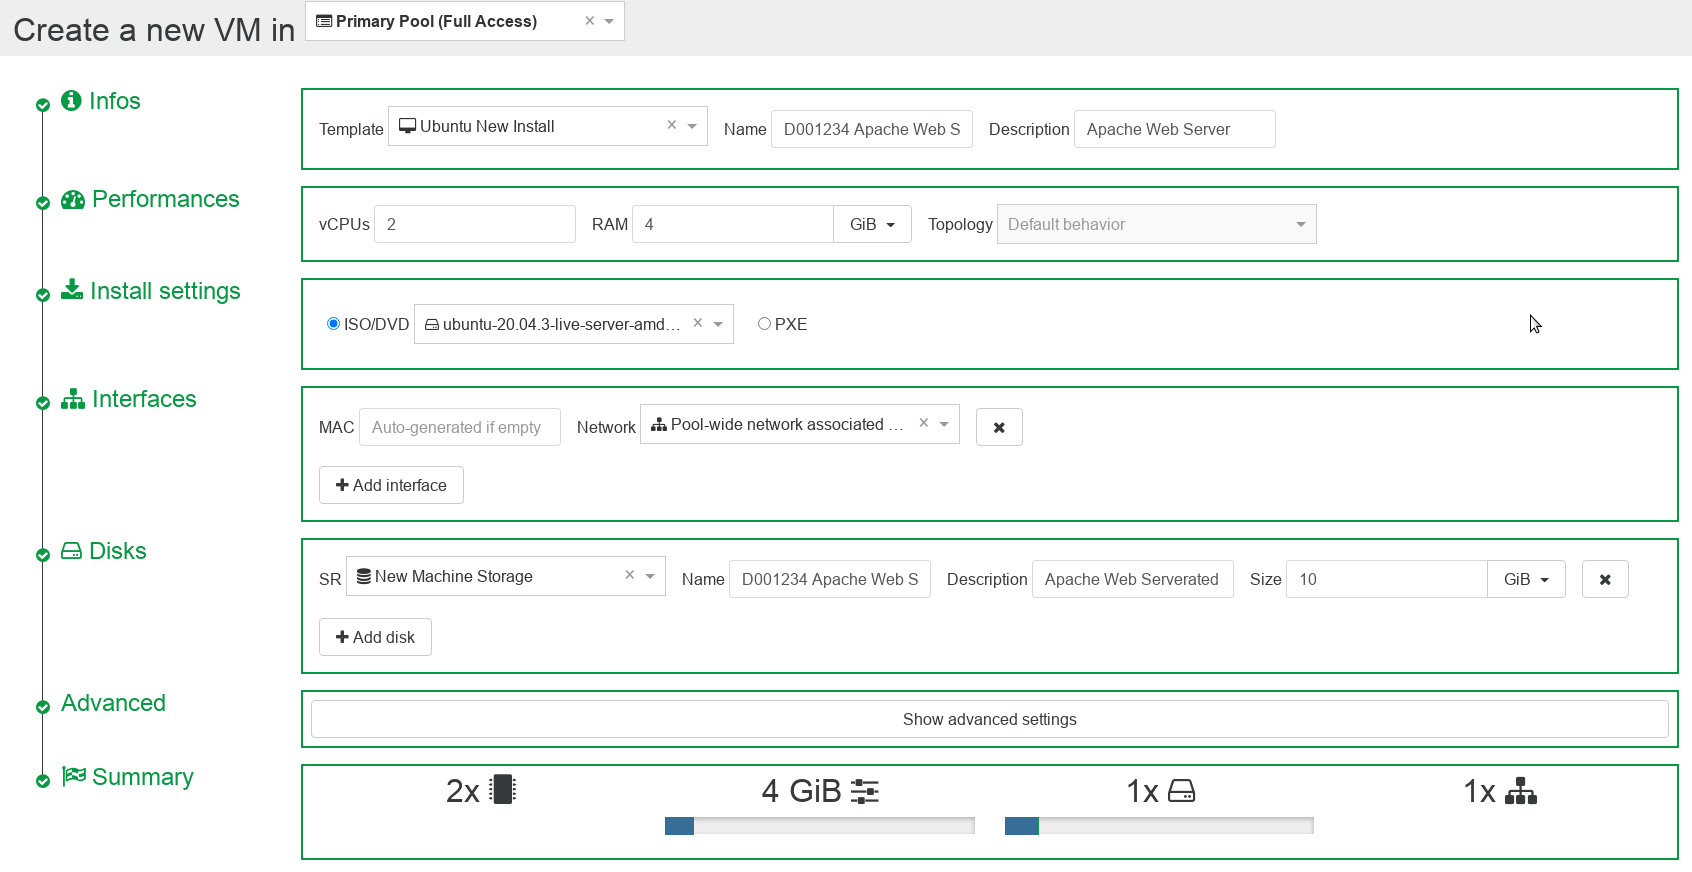
Login to XOA as usual and (if you have permissions) create a NEW Ubuntu installation using the Ubuntu 20.04 Live Server ISO file.
Choose your language (navigate with with TAB key):

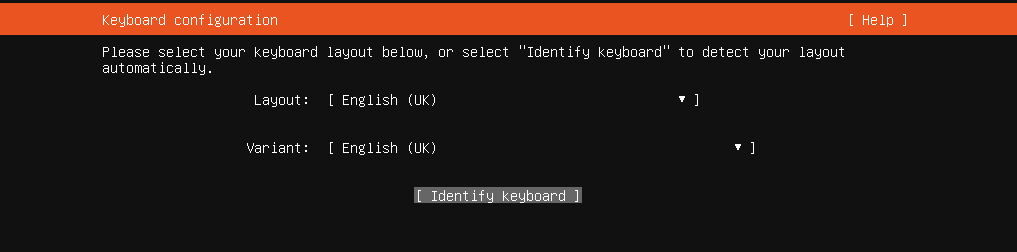
Choose your keyboard layout:
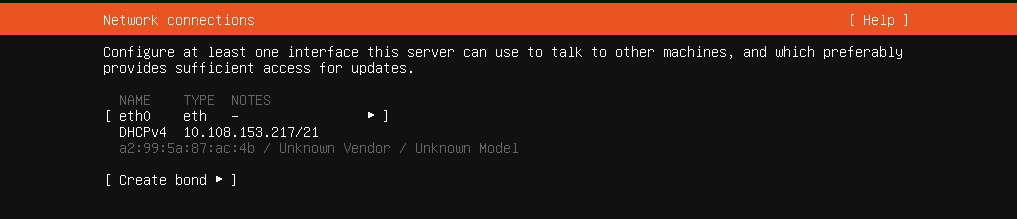
Leave the Network Settings as they are:
Leave the Storage Settings as they are also:
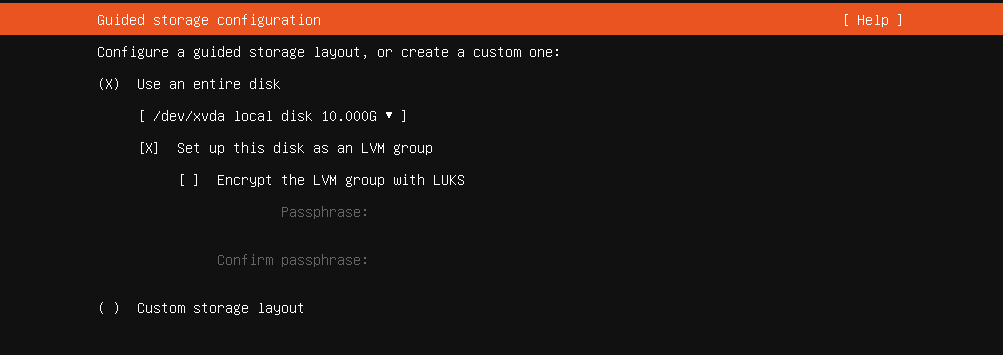
You can review these settings on the next screen, then press DONE to proceed with installation…

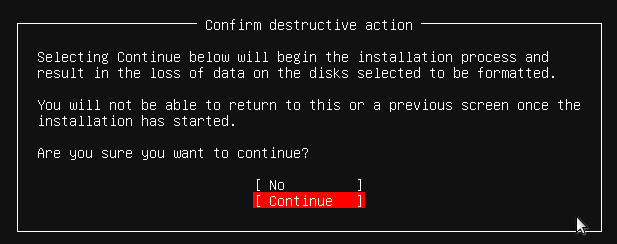
..and CONFIRM to begin the actual installation.
After you have created your username and password, be sure to install the OpenSSH Server, we are going to need it later on.
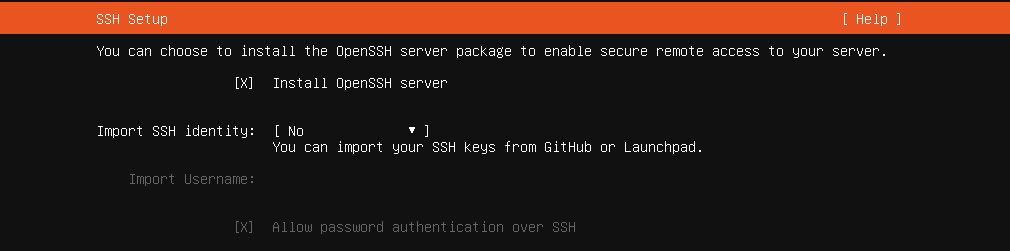
You need not bother installing any other software just yet.

The system will now install. Reboot it when done.

After reboot, login to your new VM and run the command “ip a” to get the IP address attached to interface eth0. It should be in the 10.108.x.x range.
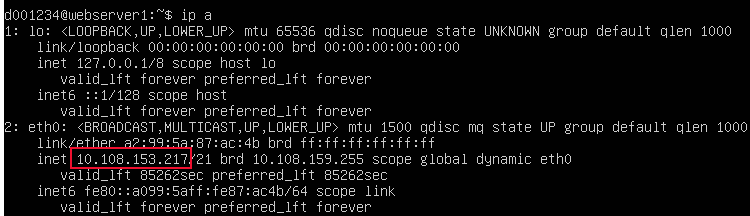
Write this address down along with your username and password you created earlier. You can now exit the XOA Platform, we are done here.
Installing the LAMP Stack
There are 2 methods to installing your LAMP Stack, which we will explain. However, we first need to connect remotely to our VM using the terminal (Linux and MacOS machines) or with a client like PuTTY (Windows machine).
If going via the terminal, the syntax is something like the following, which you adapt for your username and server address:
ssh d001234@10.108.153.217
The output will be something be similar to this:
The authenticity of host '10.108.153.217 (10.108.153.217)' can't be established.
ECDSA key fingerprint is SHA256:aliYijiJ0yLMpNhPIPUTY7xSNJ3QzE7FjWqH1YH9WZI.
Are you sure you want to continue connecting (yes/no)? yes
Warning: Permanently added '10.108.153.217' (ECDSA) to the list of known hosts.
d001234@10.108.153.217's password:
Welcome to Ubuntu 20.04.3 LTS (GNU/Linux 5.4.0-89-generic x86_64)

 * Documentation:  https://help.ubuntu.com
 * Management:     https://landscape.canonical.com
 * Support:        https://ubuntu.com/advantage

  System information as of Tue 19 Oct 10:01:12 UTC 2021

  System load:  0.01              Processes:             128
  Usage of /:   24.6% of 8.79GB   Users logged in:       1
  Memory usage: 8%                IPv4 address for eth0: 10.108.153.217
  Swap usage:   0%


28 updates can be applied immediately.
To see these additional updates run: apt list --upgradable


Last login: Tue Oct 19 09:58:34 2021
To run a command as administrator (user "root"), use "sudo <command>".
See "man sudo_root" for details.
As you can see, there are updates waiting to be applied. For a nice secure web server, we should do these now.
d001234@webserver1:~$ sudo -i
[sudo] password for d001234: xxxxxxxxx

root@webserver1:~# apt-get update && apt-get dist-upgrade
Hit:1 http://ie.archive.ubuntu.com/ubuntu focal InRelease
Get:2 http://ie.archive.ubuntu.com/ubuntu focal-updates InRelease [114 kB]
Get:3 http://ie.archive.ubuntu.com/ubuntu focal-backports InRelease [101 kB]
Get:4 http://ie.archive.ubuntu.com/ubuntu focal-security InRelease [114 kB]
Get:5 http://ie.archive.ubuntu.com/ubuntu focal/main Translation-en_GB [485 kB]
Get:6 http://ie.archive.ubuntu.com/ubuntu focal/restricted Translation-en_GB [3,860 B]
Get:7 http://ie.archive.ubuntu.com/ubuntu focal/universe Translation-en_GB [319 kB]
Get:8 http://ie.archive.ubuntu.com/ubuntu focal/multiverse Translation-en_GB [105 kB]
Get:9 http://ie.archive.ubuntu.com/ubuntu focal-updates/main amd64 Packages [1,284 kB]
Get:10 http://ie.archive.ubuntu.com/ubuntu focal-updates/main Translation-en [268 kB]
Get:11 http://ie.archive.ubuntu.com/ubuntu focal-updates/restricted amd64 Packages [516 kB]
Get:12 http://ie.archive.ubuntu.com/ubuntu focal-updates/restricted Translation-en [74.0 kB]
Fetched 3,382 kB in 3s (1,166 kB/s)
Reading package lists... Done
Reading package lists... Done
Building dependency tree
Reading state information... Done
Calculating upgrade... Done
The following packages will be upgraded:
  alsa-ucm-conf cloud-init libdrm-common libdrm2 libnetplan0 libnss-systemd libpam-modules libpam-modules-bin libpam-runtime libpam-systemd libpam0g libprocps8 libsystemd0 libudev1
  libudisks2-0 netplan.io open-vm-tools procps python-apt-common python3-apt python3-update-manager snapd systemd systemd-sysv systemd-timesyncd udev udisks2 update-manager-core
28 upgraded, 0 newly installed, 0 to remove and 0 not upgraded.
Need to get 38.8 MB of archives.
After this operation, 1,047 kB of additional disk space will be used.
Do you want to continue? [Y/n] Y
You may need to reboot. You are now ready to install your web server!
Method #1
Installing Apache
To install Apache on your new Ubuntu server, run the following command.
sudo apt install apache2Installing PHP
Install PHP is simply enough. It can be installed using the Apt package manager from Ubuntu’s repositories.
To install PHP, run the following command:
sudo apt install phpInstall Apache PHP Module
The PHP module for Apache is not bundled with Apache. As such, it must be installed in addition to the Apache package.
sudo apt install libapache2-mod-phpOnce installed the module will have to be enabled. We accomplish this using the a2enmod command.
sudo a2enmod php Install MySQL Server
sudo apt install mysql-serverand the required extension for Apache
sudo apt install php-mysqlExtras
Optionally, install additional cURL, JSON, and CGI support:
sudo apt install php-curl php-json php-cgiLastly, the Apache web service requires a reboot before the enabled mods & extensions will be fully loaded.
sudo systemctl restart apache2Method #2
Instead of installing Apache, MySQL, and PHP separately, Tasksel offers a convenient way to get a LAMP stack running quickly.
Install Tasksel if not already installed by default:
sudo apt install taskselUse Tasksel to install the LAMP stack:
sudo tasksel install lamp-serverThat’s it, you’re done! Taskel won’t always be available to you, so note BOTH the methods we have explained today.
Configuration and Testing
First, let’s configure MySQL. Log in to MySQL’s shell with this command:
sudo mysql -u root
By default, MySQL is configured to use the auth_socket authorization plugin. This authorization scheme allows you to log in to the database’s root user as long as you are connecting from the Linux root user on localhost, or as a user with sudo privileges (i.e. with sudo mysql -u root). In this scheme, no password is assigned to MySQL’s root user:
SELECT user,host,authentication_string,plugin FROM mysql.user WHERE user='root';
+------+-----------+-----------------------+-------------+
| user | host      | authentication_string | plugin      |
+------+-----------+-----------------------+-------------+
| root | localhost |                       | auth_socket |
+------+-----------+-----------------------+-------------+
1 row in set (0.00 sec)
You can keep using the auth_socket plugin, and this is considered a secure option for production systems. If you’d rather switch to password authentication and assign a password, enter the following commands. Replace password with a new root password in the below command:
ALTER USER 'root'@'localhost' IDENTIFIED WITH 'mysql_native_password' BY 'password';
FLUSH PRIVILEGES;
After making this change, you should pass the -p option when invoking the MySQL shell in future:
mysql -u root -p
Now create a database and a user with granted permissions for it. In this example, the database is called webdata, the user webuser, and password password. Again, be sure to enter your OWN secure password for password. This should also be different from the root password for MySQL:
CREATE DATABASE webdata; GRANT ALL ON webdata.* TO 'webuser' IDENTIFIED BY 'password';
Now Exit the SQL shell:
mysql> exit
Use the mysql_secure_installation tool to configure additional security options. This tool will ask if you want to set a new password for the MySQL root user, but you can skip that step:
sudo mysql_secure_installation
Answer Y at the following prompts:
-
- Remove anonymous users?
- Disallow root login remotely?
- Remove test database and access to it?
- Reload privilege tables now?
We’ll now create a test page that shows whether Apache can render PHP and connect to the MySQL database. This can be helpful in locating the source of an error if one of the elements of your LAMP stack is not communicating with the others.
Paste the following code into a new file, phptest.php, in the /var/www/html/ directory (tip: nano is a great text editor). Modify webuser and password to match the information entered in the instructions above:
<html>
<head>
    <title>PHP Test</title>
</head>
    <body>
    <?php echo '<p>Hello World</p>';

    // In the variables section below, replace user and password with your own MySQL credentials as created on your server
    $servername = "localhost";
    $username = "webuser";
    $password = "password";

    // Create MySQL connection
    $conn = mysqli_connect($servername, $username, $password);

    // Check connection - if it fails, output will include the error message
    if (!$conn) {
        die('<p>Connection failed: </p>' . mysqli_connect_error());
    }
    echo '<p>Connected successfully</p>';
    ?>
</body>
</html>
Navigate to http://serverip/phptest.php (eg. http://10.108.153.217/phptest.php) from your local machine’s browser. If the various components of your LAMP stack are working correctly, the browser will display a “Connected successfully” message.
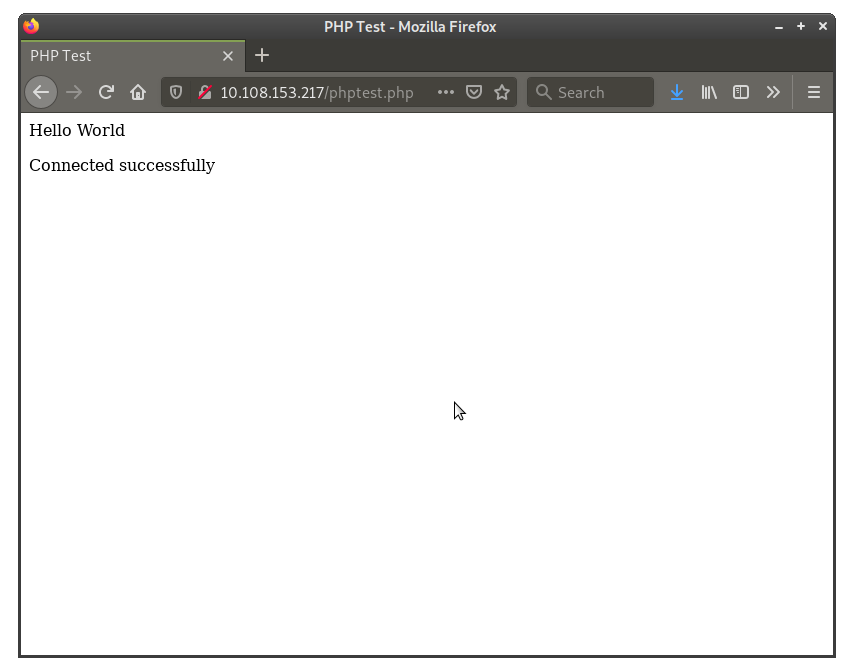
If not, the output will be an error message, which will need further investigation (did you miss a step above?)
If the site does not load at all, check if Apache is running, and restart it if required:
sudo systemctl status apache2
sudo systemctl restart apache2
If the site loads, but the page returned is the default “Congratulations” page, check your Virtual Hosts and that the DocumentRoot matches your /var/www/html folder (it probably will).
If the page returned says “Index of /” or has a similar folder tree structure, create a test index.html file or a test file as shown above.
Congratulations! You have now set up and configured a LAMP stack on Ubuntu 20.04 (LTS).