Written in C++ (rather than Java like Minecraft itself) Cuberite is a Free and Open Source (FOSS) Minecraft-compatible Game Server. It is designed with performance, configurability, and extensibility in mind, and also aims to accurately recreate most vanilla features.
- Download the appropriate SD Card image and once unzipped, write to a card no smaller than 4GB with your favourite method (the image is Raspbian based, so you can login with the default credentials later on when you need to find out the IP address).
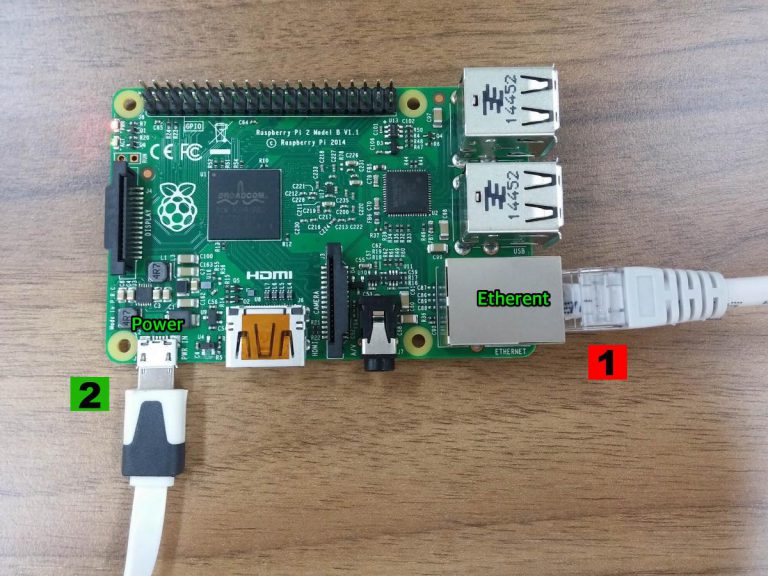
- Insert the card into an unpowered Raspberry Pi unit.
- Connect the Pi first by ethernet cable to your router, then to the RPi Power Supply (you do not need a monitor, keyboard or mouse) so it boots.
- Start your Minecraft client (ensure you have a registered account and are logged in) and navigate to the Multiplayer menu.
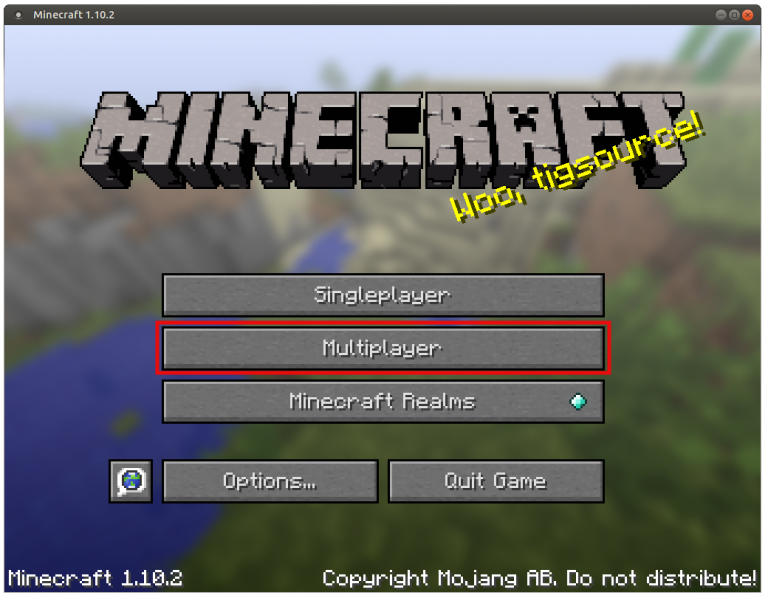
- Rather than scan for a game, choose the Direct Connect method.
- Enter the IP address of your Raspberry Pi (use ifconfig command on Pi).
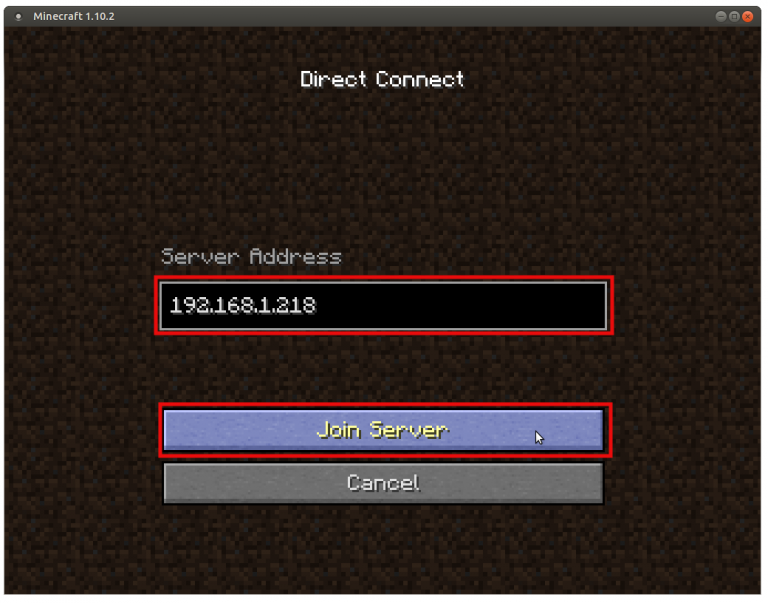
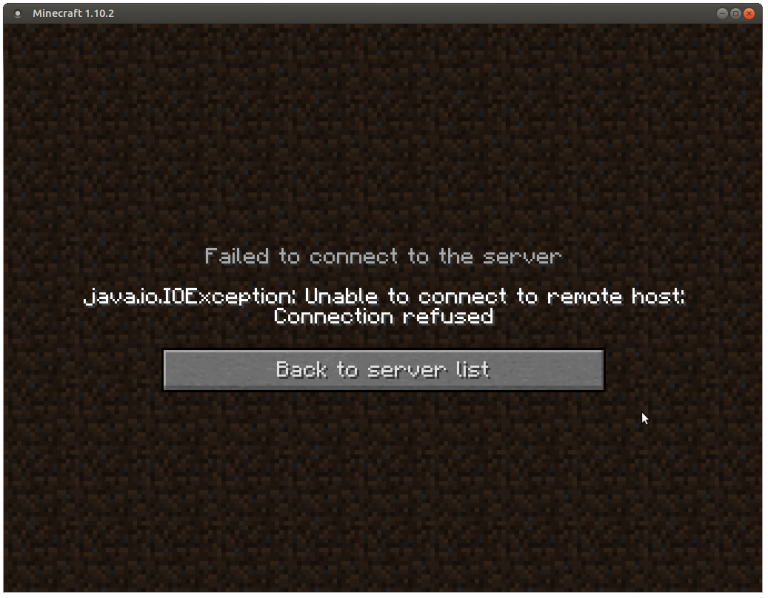
- You should immediately connect to the server and can start to play. If you see the following screen, it means you have not waited long enough and the server is still starting up!
That’s pretty much all you need to know. If you want to use an rcon tool to send commands to your server, the rcon password is minecraftonlan and the port is 25575 eg.
mcrcon -H 192.168.1.218 -P 25575 -p minecraftonlan "your command here"