The Department of Computing & Mathematics at DkIT has a very advanced WordPress Infrastructure for use by students in their class work and end of year projects. We use a Viglen IX2300 (2 x Quad Core Xeon CPUs, 12 GB RAM, 2 x 146 GB SATA disks) for the primary web server, and two Viglen HX2220i units provide MySQL Database Replication, failover and load balancing services to the master web server. These servers are all powered by Debian Linux.

Also, traffic to the servers is cached at the college’s main reverse proxy server (regardless of source). The result is a very fast setup indeed!
Many of the internal websites and tools on the department use WordPress, due to it’s flexibility and reliability. For this reason it is worth getting familiar with it, as you will find it is used a lot in the real world too. You know the website you use to book study rooms? WordPress. You know the tool for checking inventory in and out in the technician’s office (P1155)? The Student Union website? WordPress. Hey, see if you can guess what this very tutorials site is running on? Give up? It’s WordPress!
So, read on to get your own site up and running in no time…
You can request an account on the master WordPress server (wpweb01.comp.dkit.ie) via the ITLC. Once your account is created, you can set up your website by following these steps.
Visit the webserver URL, but append your student ID to the end of the address. For example, enter
http://wpweb01.comp.dkit.ie/D00012345
in the browser address bar. If you don’t already have a WordPress site, you will be presented with the first-time setup wizard (if you don’t get the wizard, your account is not yet ready, so double-check with ITLC staff).
Note that this is not the regular WordPress setup wizard, this is one written by Computer Services to take away a lot of the technical bits and automate the setup as much as possible.
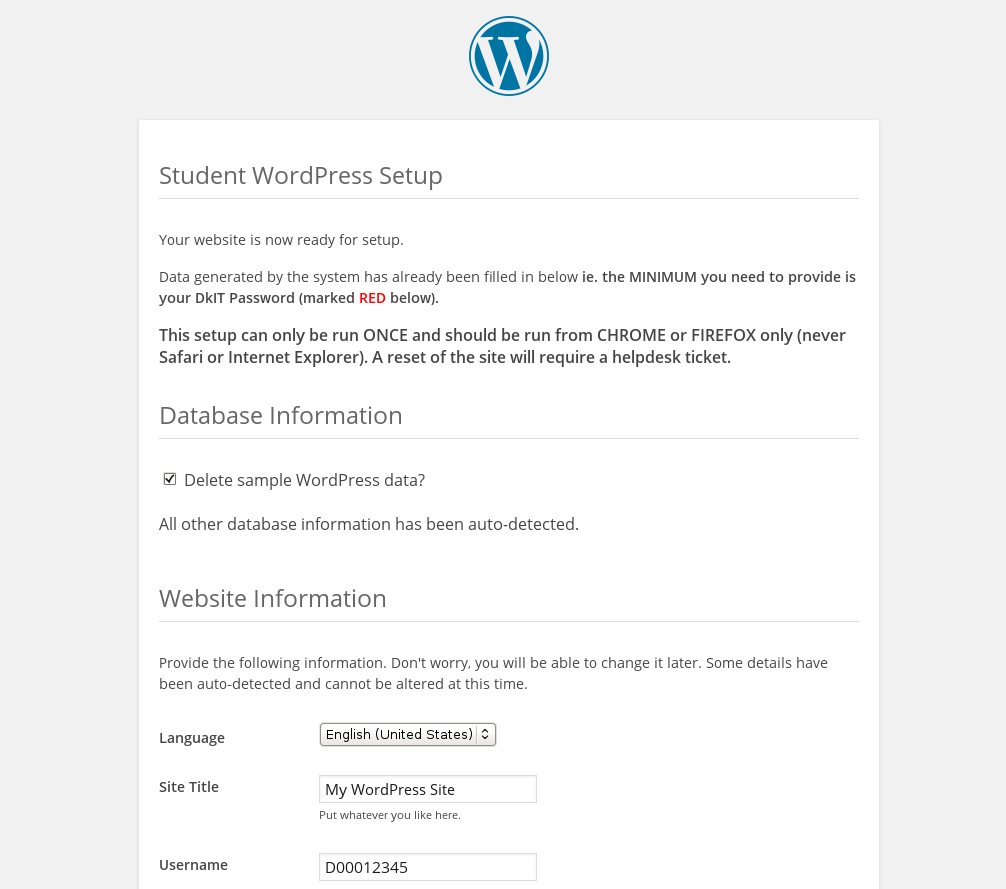
Fill in as much detail as you can, then click the Install WordPress button at the end of the page. You’ll see the following progress bar…
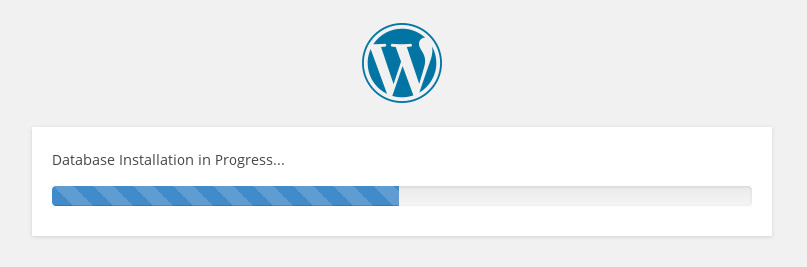
..and when it’s done you should see the following success message.

All that remains is to click the button Cool! Take me to my website… which finishes off the install and redirects your browser (you can watch the little penguin dancing while this is being done).
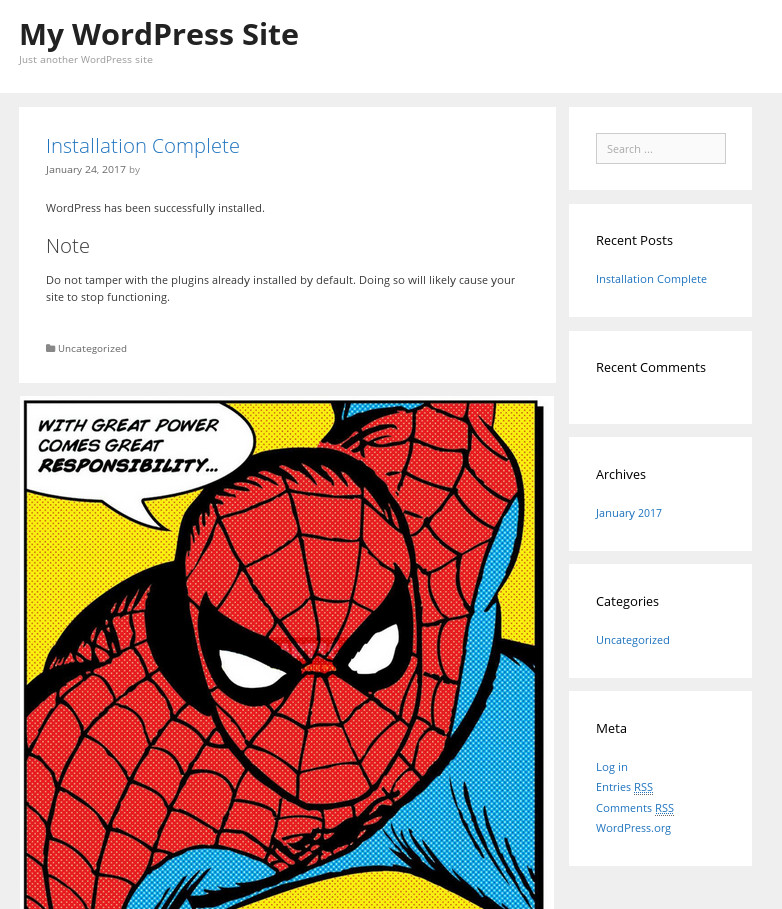
You should now see your shiney new WordPress site, which you can login to and manage as normal with your DkIT username and password. Install templates and plugins to achieve the look and functionality you require, and be sure to generate a “child theme” so all your settings are saved. Then you can overide CSS via the child theme’s styles.css file, and insert your own PHP functions via the functions.php file. There are also plugins to help you override CSS and PHP directly from the dashboard – play with it and see what you can do!
Check the other WordPress tutorials for example code, and look out for classroom-based tutorials in the ITLC in the future.