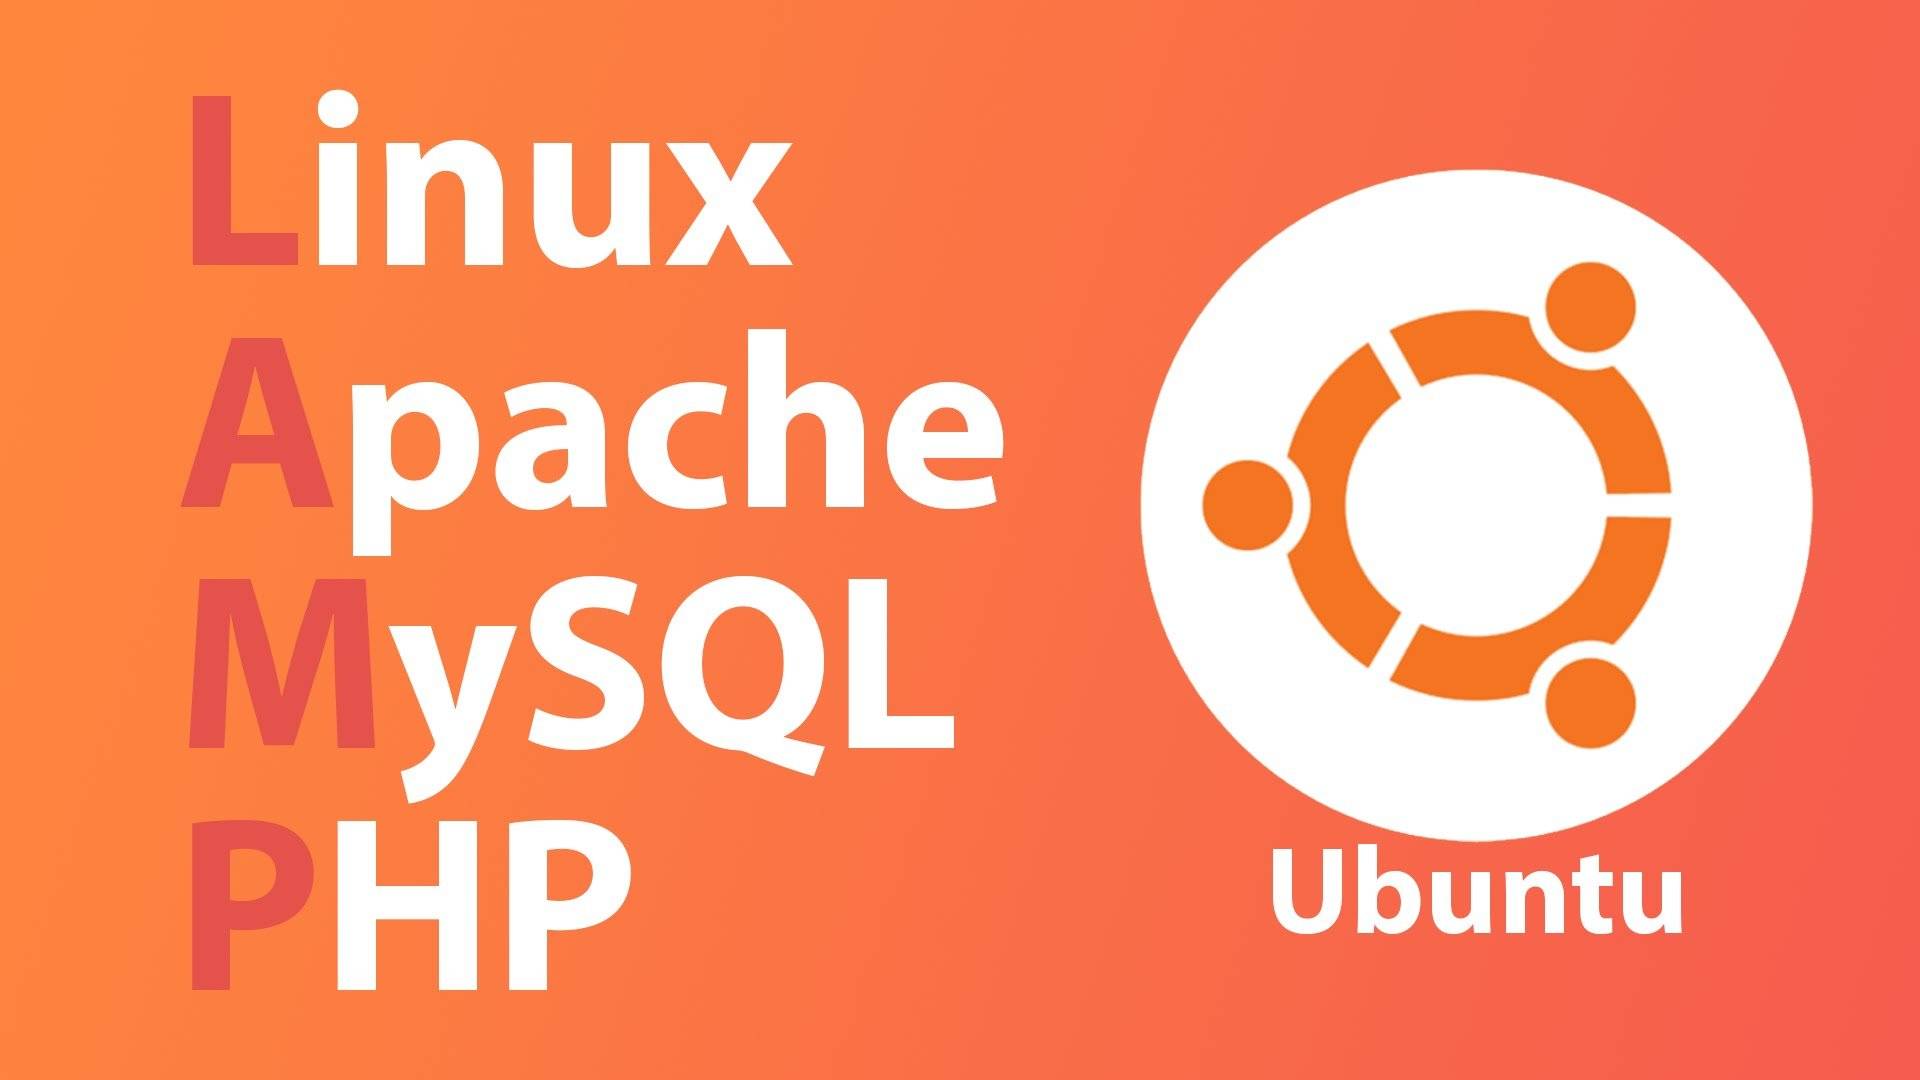
The objective of this tutorial is to install the LAMP stack (Linux, Apache, MySQL and PHP server) on Ubuntu 18.04 “Bionic Beaver”, which is now available in the ITLC’s Xen Orchestra sandbox as a “Quick Instance”.
Using the tasksel command the procedure of installing LAMP on Ubuntu 18.04 Bionic Beaver is a rather trivial matter. First, make sure that you have are completely up to date and that the tasksel package installed:
$ sudo apt install tasksel
To install LAMP server using tasksel execute:
$ sudo tasksel install lamp-server
Test your LAMP Install
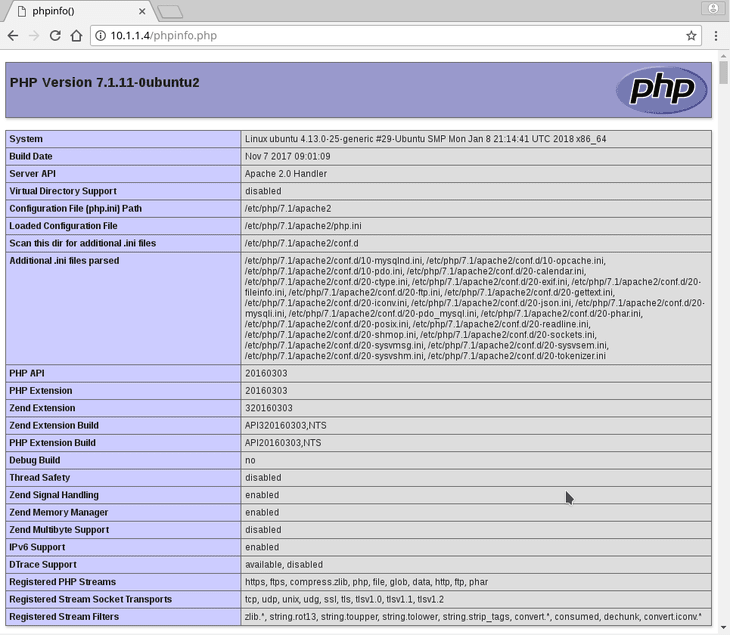
Create a simple PHP Info page to test your LAMP installation:
$ sudo bash -c "echo -e '<?php\nphpinfo();\n?>' > /var/www/html/phpinfo.php"
The above command will create a new /var/www/html/phpinfo.php file with the following content:
<?php
phpinfo();
?>
Now, point your web browser to your new LAMP install using the following URL:
http://<YOUR SERVER IP ADDRESS HERE>/phpinfo.php
All done. Below you can find some optional tasks to further configure your LAMP stack server.
MySQL Secure Installation
It is recommended to secure your MySQL installation before using your LAMP stack server in production. To do so execute:
$ mysql_secure_installation
Firewall Configuration
If using the Ubuntu Firewall, the following firewall configuration allows incoming traffic on TCP ports 80 and 443:
$ sudo ufw allow in "Apache Full"
Install PHPMyAdmin
Now that Apache2, MySQL and PHP are installed the final step is to install phpMyAdmin and configure. To do that, run the commands below:
sudo apt-get update
sudo apt-get install phpmyadmin php-gettext
When prompted to choose the webserver, select (with the SPACE bar) apache2 and continue.
When prompted again to allow debconfig-common to install a database and configure select No.
Now, open your web browser and login to the server IP address followed by /phpmyadmin
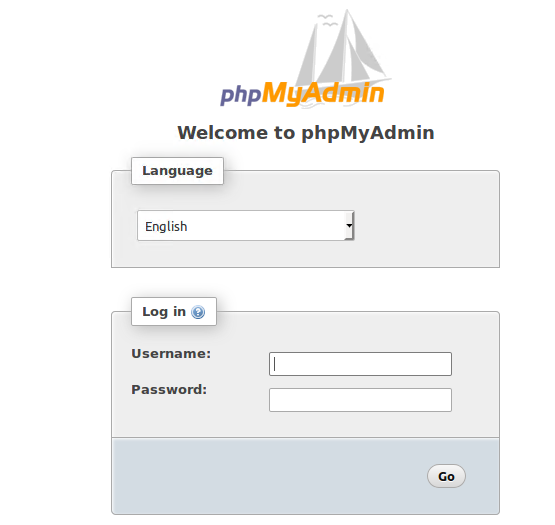
You probably won’t be able to login in with the default administrator user and password, this is because you need to login as root (who you set a password for earlier). See this tutorial for how to enable phpMyAdmin login for the root user, especially on Ubuntu 18.04.