Ghost CMS is a new blogging platform which is kinda similar to WordPress and may be a new game changer in the industry of blogging platforms. It is a fully open source, adaptable platform for building and running a modern online publication – powered by headless Node.js.
As a CMS for just blogging (no shopping carts or other complex functionality here), the design is simply unreal and elegant. The screen splits up into two columns whereas the left side represents New Post, Content, Team, Settings under which you have General, Navigation, Tags, Code Injection, Apps, Labs. The right screen represents the automatic live preview of the post how it will look when published. If you want to add tags, keywords, Meta Data etc. you can do it by tapping at the small box which is at the bottom of the screen. Sounds great, yeah? So how to try it out without signing up for anything?
You can create an instance of Ghost on http://docker.comp.dkit.ie and preview it for yourself, that’s how.
Here are the steps:
- Create a Private Network for your container(s)
- Use an App Template to fire up an instance of Ghost
- Modify the instance so we can access it from a browser
- Create login credentials and start blogging!
The first 2 items we’ve covered before, so we’ll jump straight to the modification, which is done via the container’s console, as in previous tutorials.
First however, note the “Published Ports” on your container. In our example it is 32768:2368 on the host docker02 (available on campus only). This means that our webserver is running on port 2368 locally but using port 32768 on the host (yours will be different).
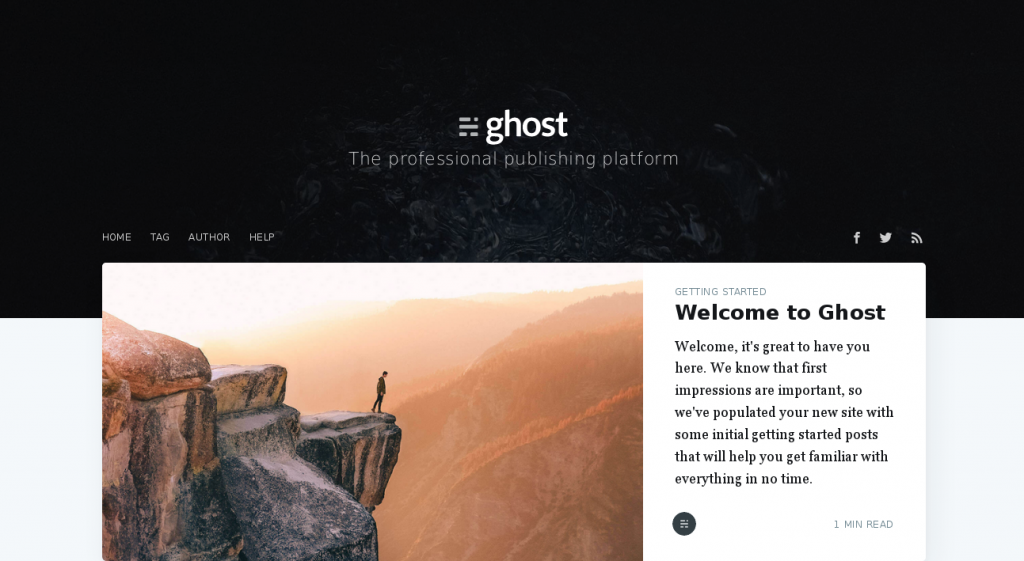
We can confirm this by visiting http://docker02.comp.dkit.ie:32768 in the browser.
Awesome! But you’ll see that clicking any of the links tries to load http://localhost:2368, which is no use here (they will all fail to load).

This is why we need to access the web console and make a change.

Connecting as root you will be dropped into the directory /var/lib/ghost, which is where we want to be. However, in order to make any edits, we need to install an editor like nano
apt-get update && apt-get install nano
now edit the appropriate config file
nano config.production.json
You will be presented with some thing like this
{
  "url": "http://localhost:2368",
  "server": {
    "port": 2368,
    "host": "0.0.0.0"
  },
  "database": {
    "client": "sqlite3",
    "connection": {
      "filename": "/var/lib/ghost/content/data/ghost.db"
    }
  },
  "mail": {
    "transport": "Direct"
  },
  "logging": {
    "transports": [
      "file",
      "stdout"
    ]
  },
  "process": "systemd",
  "paths": {
    "contentPath": "/var/lib/ghost/content"
  }
We want to change http://localhost:2368 so that the site displays the correct URLs when viewed via http://docker02.comp.dkit.ie, so we enter http://docker02.comp.dkit.ie:32768 for the url variable, right? WRONG. And here is why…. after we make this change we are going to restart the container. The way docker works, the port number on the host will increment by at least one when we do this, so the correct entry uses 32768 + 1, which is 32769 (duh).
{
  "url": "http://docker02.comp.dkit.ie:32769",
  "server": {
    "port": 2368,
    "host": "0.0.0.0"
  }
Leave the host and port values as is – we are only modifying URL to fix menu and internal website links in a browser.
Save the file and Disconnect from the console.
Back on the Container Details page Restart the container.

Check the new port number for the host is as we expected (if not, you will have to repeat the above process) and then visit in a browser as before. Using the new port number. You will see that you can now fully navigate the website!
Now we want to create our login credentials and start testing Ghost. To do this, you simpy add “/ghost” to the end of your URL. In our case, this will be http://docker02.comp.dkit.ie:32769/ghost
Create your account, choosing a REALLY good password as you should….
.. and skip the step about inviting other users (unless you really want to).
You will now find yourself in the admin part of the CMS where you can have a really good play with all the features on offer!
Have fun.


