If you read our recent tutorial series on using Docker Containers via a web frontend you may also be curious about Docker on the command line.
For those seeking that extra bit of experience, we have created a Docker Host (with Dockly) template inside our Virtualisation Environment here at DkIT. This allows you to run your own Docker host (or cluster via Swarm mode) and take full control of everything. You can manage your own images and containers at the command line, but still access the DkIT Registry for Push/Pull of images. Let’s take a closer look with an example project.
Login to https://xoa.comp.dkit.ie and fire up a new VM with the Docker Host (with Dockly) template provided.

You will be able to SSH to your new host (even from Windows, natively or with PuTTY) with the usual credentials for all VMs.
ssh administrator@10.108.152.110

The authenticity of host '10.108.152.110 (10.108.152.110)' can't be established.
ECDSA key fingerprint is SHA256:UiU7hry7UcbzaOUGeEMIokSPE8NeyvefaN1vhfE1PCs.
Are you sure you want to continue connecting (yes/no)? yes
Warning: Permanently added '10.108.152.110' (ECDSA) to the list of known hosts.
administrator@10.108.152.110's password:
Welcome to Ubuntu 18.04.2 LTS (GNU/Linux 4.15.0-50-generic x86_64)

 * Documentation:  https://help.ubuntu.com
 * Management:     https://landscape.canonical.com
 * Support:        https://ubuntu.com/advantage

  System information as of Fri May 17 11:57:00 UTC 2019

  System load:  0.0                Processes:              120
  Usage of /:   45.4% of 11.75GB   Users logged in:        1
  Memory usage: 3%                 IP address for eth0:    10.108.152.110
  Swap usage:   0%                 IP address for docker0: 172.17.0.1

 * Meltdown, Spectre and Ubuntu: What are the attack vectors,
   how the fixes work, and everything else you need to know
   - https://ubu.one/u2Know

2 packages can be updated.
0 updates are security updates.


Last login: Fri May 17 11:50:50 2019
administrator@ubuntu:~$
Once you have done this, let’s create a directory to keep all out Dockerfiles in, and a sub-directory of that for our app (which will be a simple script to let a user send a pre-formatted tweet). This is good practice and something you should always do.
mkdir dockerfiles/
cd dockerfiles
mkdir tweetapp/
cd tweetapp
So far so good. Now to actually start doing Docker stuff. In order to build our image, we need any resources it will utilise plus the Dockerfile to build it. We’re going to create an index.html file and a PNG image (of a Linux penguin) that will be copied into our eventual container.
First, acquire the image from a remote location using the wget command.
wget http://files.comp.dkit.ie/oslab/linux.png

--2019-05-17 12:06:38--  http://files.comp.dkit.ie/oslab/linux.png
Resolving files.comp.dkit.ie (files.comp.dkit.ie)... 10.108.150.36
Connecting to files.comp.dkit.ie (files.comp.dkit.ie)|10.108.150.36|:80... connected.
HTTP request sent, awaiting response... 200 OK
Length: 22365 (22K) [image/png]
Saving to: ‘linux.png’

linux.png  100%[====================>]  21.84K  --.-KB/s    in 0s

2019-05-17 12:06:38 (84.6 MB/s) - ‘linux.png’ saved [22365/22365]

administrator@ubuntu:~/dockerfiles/tweetapp$
Now create the index.html file with nano. In there goes all the code our web app will use (mostly html and css).
<html>
    <head>
        <style>
        body {
        	background-image: linear-gradient(-74deg, transparent 90%, rgba(255, 255, 255, 0.23) 20%),
                              linear-gradient(-74deg, transparent 83%, rgba(255, 255, 255, 0.18) 15%),
                              linear-gradient(-74deg, transparent 76%, rgba(255, 255, 255, 0.1) 15%),
                              linear-gradient(to top, #f25a02, #f26818, #f97e36);
    		background-size: cover;
    		margin-bottom: 0px!important;
        }
        div{
            font-family: 'Geomanist', sans-serif;
  			font-weight: normal;
  			color: white;
            width: 50%;
            margin: 0 auto;
            position: relative;
            top: 50%;
            transform: translateY(-50%);
        }
        </style>
    </head>

    <body>

               <img src=https://www.docker.com/sites/all/themes/docker/assets/images/brand-full.svg width=20%></img>

               <div class="inner">
                    <center><h1>Linux Tweet App!</h1></center>

                    <center><img src="./linux.png"></img><P>

                    You've successfully deployed the Linux tweet app! Why not let the world know?

                      <p>

                     <a href="https://twitter.com/intent/tweet?button_hashtag=#Docker" class="twitter-hashtag-button" data-size="large" data-text="I'm learning how to deploy #Docker containers at #DkIT." data-url="http://www.docker.com" data-lang="en" data-show-count="false">Tweet</a><script async src="//platform.twitter.com/widgets.js" charset="utf-8"></script>
              </div>
    </body>

</html>
It’s time to create out Dockerfile! Name the new file just that, “Dockerfile” and put the following in there:
FROM nginx:latest
MAINTAINER Joe Bloggs (D0001234@student.dkit.ie)

COPY index.html /usr/share/nginx/html
COPY linux.png /usr/share/nginx/html

EXPOSE 80

CMD ["nginx", "-g", "daemon off;"]
As you can see, we are using the official nginx image as our base, copying our files to the correct locations in the system, opening port 80 and finally running the nginx command using the switches explained in a previous tutorial. You’ll notice we don’t use ENTRYPOINT as before. However, The CMD specifies arguments that will be fed to the ENTRYPOINT, so it’s the same result. We’re just mixing things up a bit.
Now we can Build our image. We want to tag it locally as “tweetapp”, so the command is:
docker build –tag=tweetapp .
Here’s the output:
Sending build context to Docker daemon  27.65kB
Step 1/5 : FROM nginx:latest
latest: Pulling from library/nginx
743f2d6c1f65: Pull complete
6bfc4ec4420a: Pull complete
688a776db95f: Pull complete
Digest: sha256:23b4dcdf0d34d4a129755fc6f52e1c6e23bb34ea011b315d87e193033bcd1b68
Status: Downloaded newer image for nginx:latest
 ---> 53f3fd8007f7
Step 2/5 : COPY index.html /usr/share/nginx/html
 ---> f7036b2d7c6c
Step 3/5 : COPY linux.png /usr/share/nginx/html
 ---> ca2485fb09ac
Step 4/5 : EXPOSE 80
 ---> Running in d47c7f38084a
Removing intermediate container d47c7f38084a
 ---> 5f2c569aff31
Step 5/5 : CMD ["nginx", "-g", "daemon off;"]
 ---> Running in 003730fd51e9
Removing intermediate container 003730fd51e9
 ---> 68a549f30862
Successfully built 68a549f30862
Successfully tagged tweetapp:latest
Looks good. A quick docker image ls will show our image now exists in Docker, along with the nginx image it depends on.
administrator@ubuntu:~/dockerfiles/tweetapp$ docker image ls
REPOSITORY          TAG                 IMAGE ID            CREATED             SIZE
tweetapp            latest              68a549f30862        2 minutes ago       109MB
nginx               latest              53f3fd8007f7        9 days ago          109MB
Great! Now let’s fire up a container and see if our code actually works. The command to use here is:
docker container run –detach -p 80:80 tweetapp
This will start and map port 80 on the container to port 80 on our VM. Run dockly to see your container details:
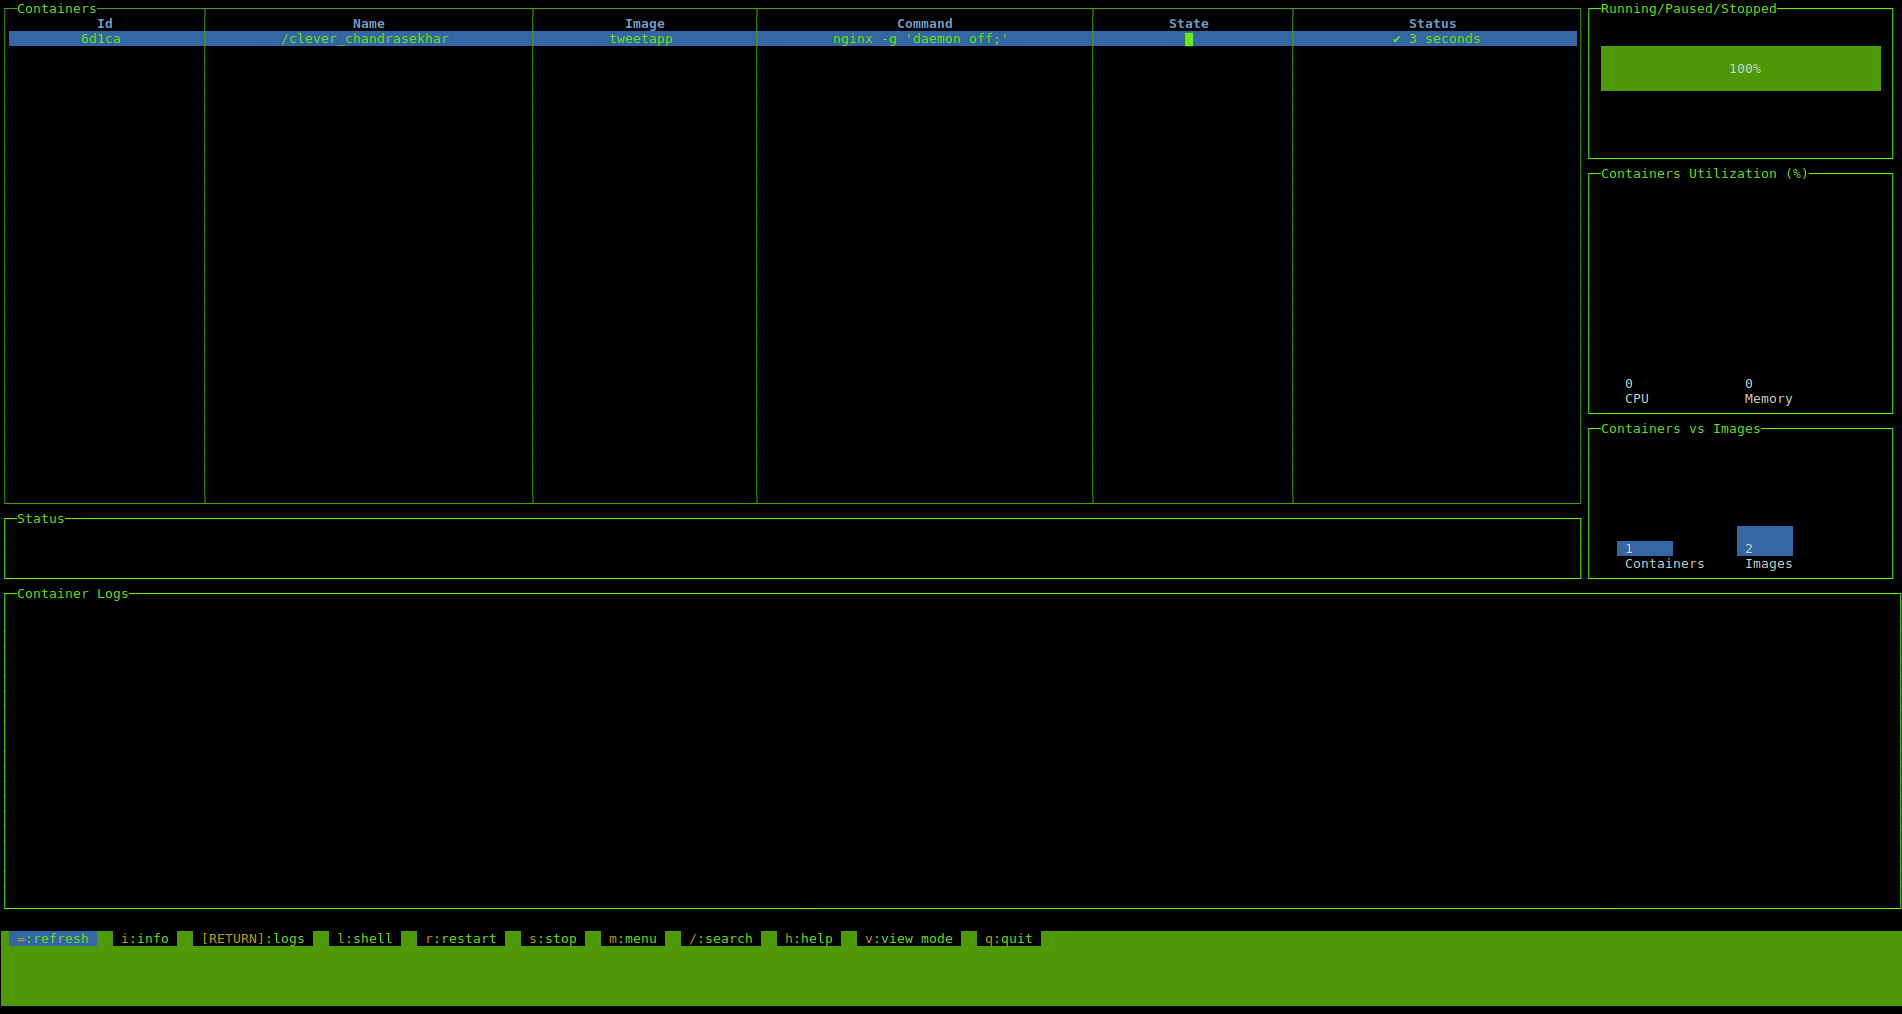
Dockly has some nice features, like quick stopping and restarting of your container, as well as easy removal and comprehensive info about a container at the touch of a button (i):

You can now visit your VM’s IP Address in a browser to check the output of your web app.
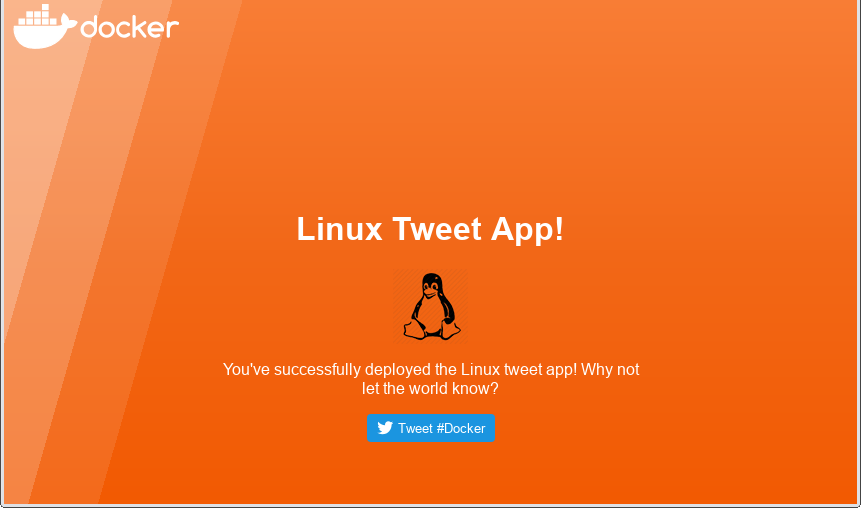
Wow, that look’s promising! Just test your Tweet button to be sure:
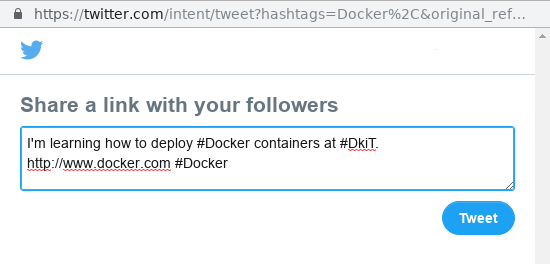
Perfect.
Our image has now been proven to work, and could actually be useful. We should tag it for addition to the DkIT Registry so we can use it again later (ie. Pull) from future instances of the Docker Host (with Dockly).
As we’re adding to the share registry, we should tag it appropriately with using our student ID.
docker build –tag=docker01.comp.dkit.ie:5000/d001234_tweetapp .
and Push it to the registry
docker push docker01.comp.dkit.ie:5000/d001234_tweetapp
(read lots more about the power of tagging here and how to tag AFTER the image is created here).
We can check that was uploaded properly by visiting the registry in our browser (only works inside the college).
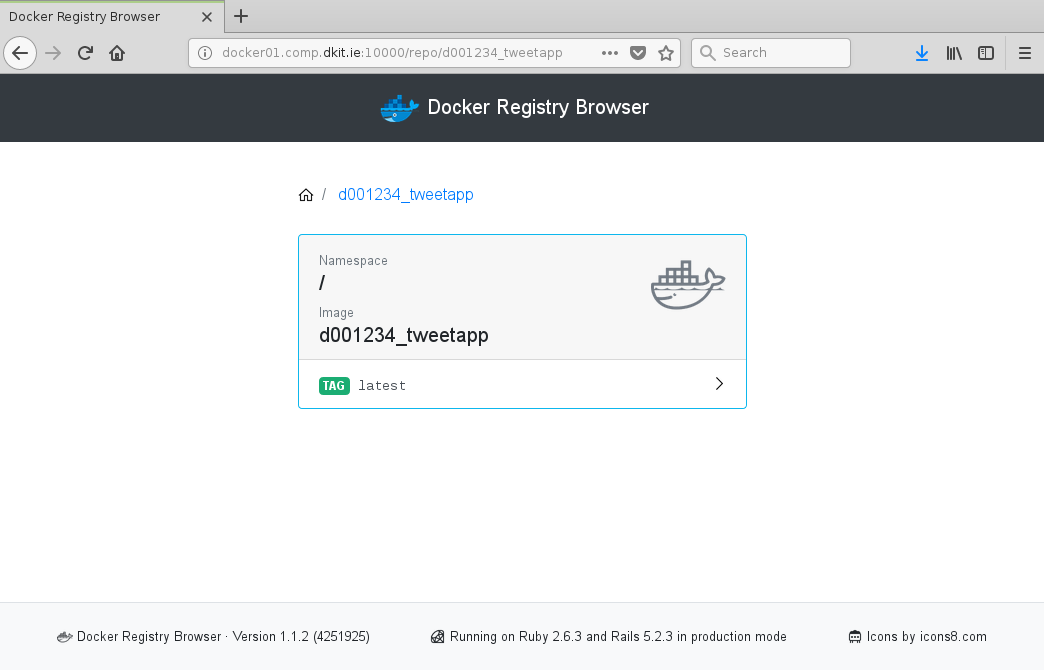
Much success!
Did we mention this now means your image is available to Pull from other Docker hosts in DkIT?
docker pull docker01.comp.dkit.ie:5000/d001234_tweetapp
Did we mention this includes http://docker01.comp.dkit.ie? Because it does! Check it out:
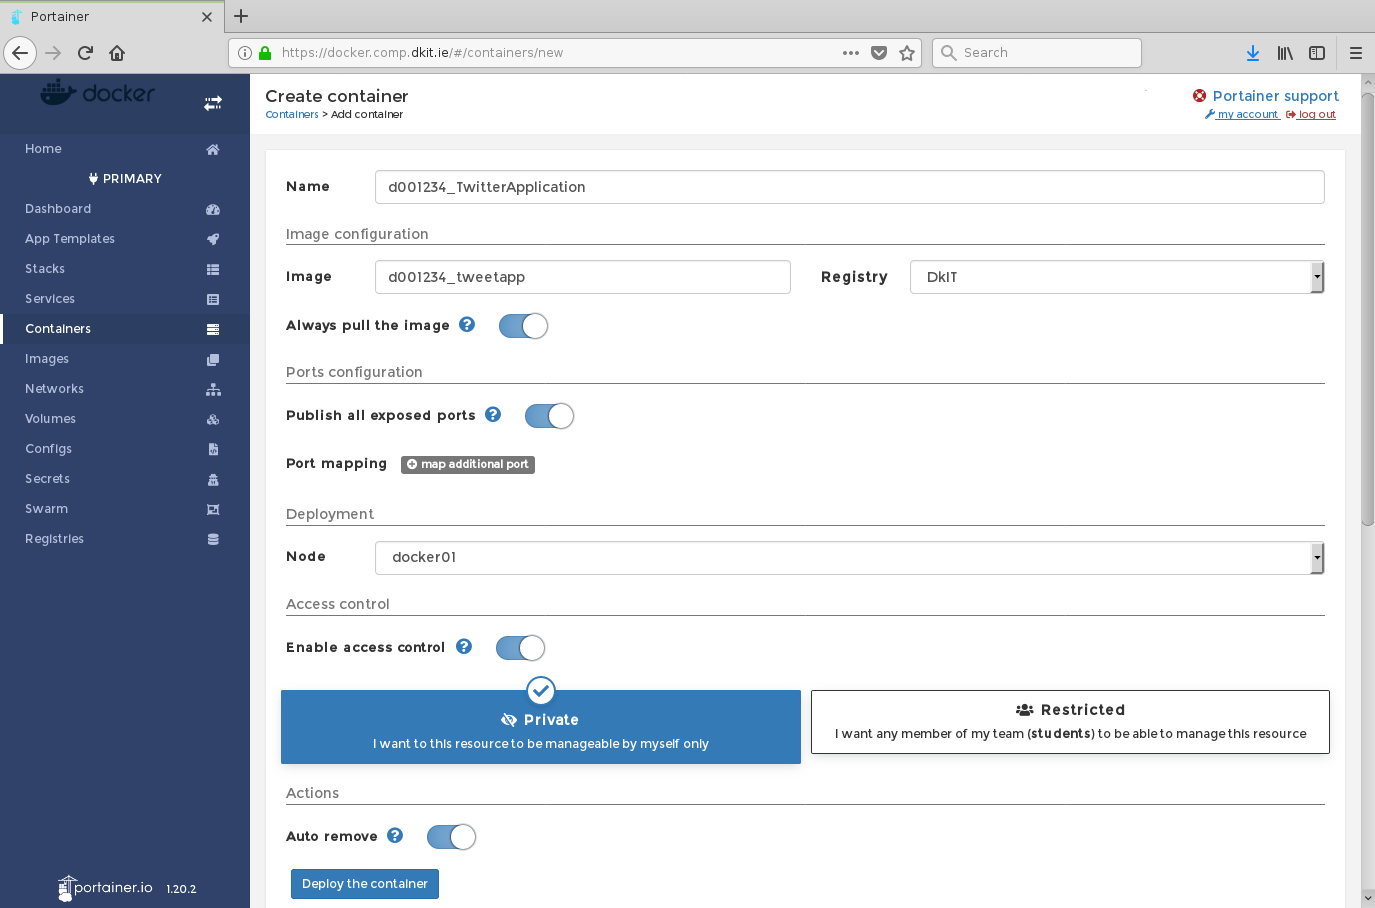
And when deployed:

Boom!
So have fun, the more you try, the more you will learn about Docker.
Here is a quick cheat sheet of the commonly used commands to get started:
| PURPOSE | COMMAND |
|---|---|
| Build an image | docker build –rm=true . |
| Install an image | docker pull ${IMAGE} |
| List of installed images | docker images |
| List of installed images (detailed listing) | docker images –no-trunc |
| Remove an image | docker rmi ${IMAGE_ID} |
| Remove all untagged images | docker rmi $(docker images | grep “^” | awk “{print $3}”) |
| Remove all images | docker rm $(docker ps -aq) |
| Run a container | docker run |
| List containers | docker ps |
| Stop a container | docker stop ${CID} |
| Find IP address of the container | docker inspect –format ‘{{ .NetworkSettings.IPAddress }}’ ${CID} |
| Attach to a container | docker attach ${CID} |
| Remove a container | docker rm ${CID} |
| Remove all containers | docker rm $(docker ps -aq) |
There’s also an excellent article covering the basic commands here.