A sticky floating footer bar allows you to prominently display your important content to users. This bar remains visible to users at all time, so they are more likely to click on it and discover more useful content.
This method requires you to add code in your WordPress files, so we will be using the File Manager plugin, already installed on the DkIT WordPress servers.
Locate the footer.php file in your active WordPress theme folder and edit it. If you are using a child theme and this file does not exist, copy it from the parent theme directory.
Add the following code just before the </body> tag.
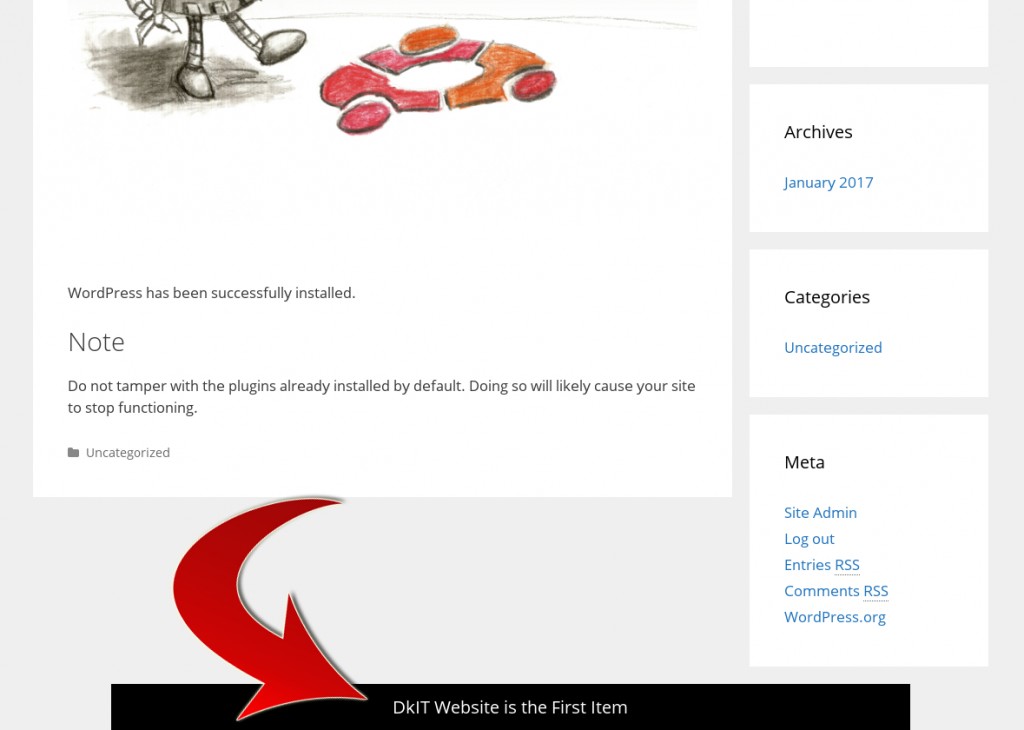
<div class="fixedBar">
<div class="boxfloat">

<ul id="mylinks">
<li><a href="http://www.dkit.ie/">DkIT Website is the First Item</a></li>
<li><a href="http://www.wordpress.org/">WordPress.org is the Second Item</a></li>
</ul>

</div>
</div>
You can add as many list items as you want. We will show you how to randomly rotate them on each page load.
The next step is adding the CSS styles.
You can add CSS to your WordPress theme’s style.css file or use the Simple Custom CSS plugin.
.fixedbar {
background: #000;
bottom: 0px;
color:#fff;
font-family: Arial, Helvetica, sans-serif;
left:0;
padding: 0px 0;
position:fixed;
font-size:16px;
width:100%;
z-index:99999;
float:left;
vertical-align:middle;
margin: 0px 0 0;
opacity: 0.95;
font-weight: bold;
}
.boxfloat {
text-align:center;
width:920px;
margin:0 auto;
}

#mylinks, #mylinks li {
margin:0;
padding:0;
list-style:none
}
#mylinks {
width:920px;
background: black;
font-size:20px;
line-height:120%;
}
#mylinks li {
padding: 15px 0;
display:none;
}
#mylinks li a{
color: white;
}
#mylinks li a:hover {
text-decoration: none;
}
After adding the CSS, you may not be able to see the changes on your website. This is because we have set the display for items in our list to none.
Next, we will use jQuery (built into WordPress) to randomly display one item from our list on each page load. You will first need to create a new directory at /wp-content/themes/your-theme-folder/js (if it does not already exist)

and inside that folder create a new file floatingbar.js
(function($) {
this.randomtip = function(){
	var length = $("#mylinks li").length;
	var ran = Math.floor(Math.random()*length) + 1;
	$("#mylinks li:nth-child(" + ran + ")").show();
};

$(document).ready(function(){
	randomtip();
});
})( jQuery );
The next step is to enqueue (load) the JavaScript file in your WordPress theme.
Paste this code in your theme’s functions.php
function my_floating_bar() {
    wp_enqueue_script( 'my-footerbar', get_stylesheet_directory_uri() . '/js/floatingbar.js', array( 'jquery' ) );
}
add_action( 'wp_enqueue_scripts', 'my_floating_bar' );
That’s all, you can now visit your website to see the floating footer bar in action. Reload the page a couple of times to see footer bar randomly showing different items from your list!