We use Xen Orchestra as the web interface for students to create and manage VMs via our XCP-ng Pool in PJ Carrolls. The login is found at https://xoa.comp.dkit.ie and most students are familiar with this excellent resource. But what if a student wanted to mange their own pool of virtualisation servers in a Specialist Lab, running either XCP-ng or XenServer?
This is where things get interesting. We now have a template inside XOA for XOA!

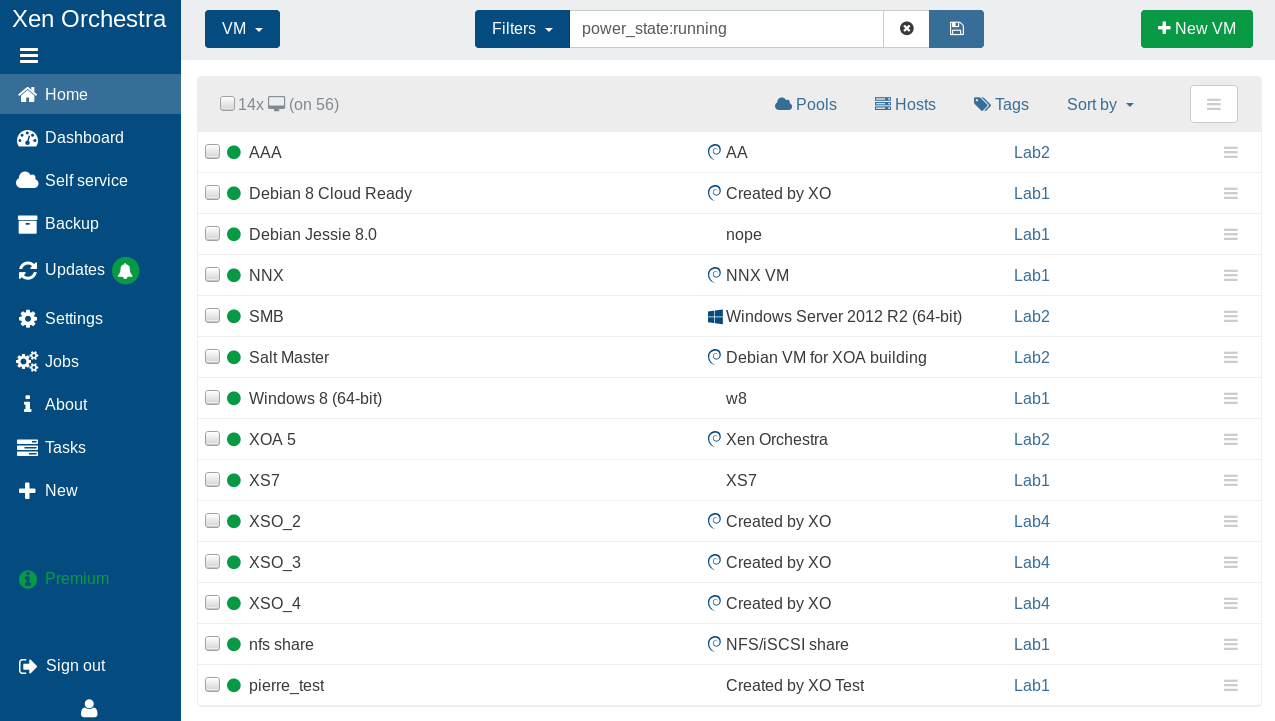
This provides a VM with a web interface for Xen Orchestra (Community Edition), which you can then point at your pool and manage with instead of using the (Windows only) application XCP-ng Center.
So how to use? Well, first let’s look at what Xen Orchestra actually is and how it works.
Introduction
This tutorial is only really of benefit if you have used servers in P1153 or a similar lab to build your own virtualisation infrastructure using either Citrix XenServer or it’s open source fork XCP-ng (both can be downloaded from files.comp.dkit.ie)
However, if you are interested in Open Source alternatives to VMWare, Hyper-V et al, then read on…
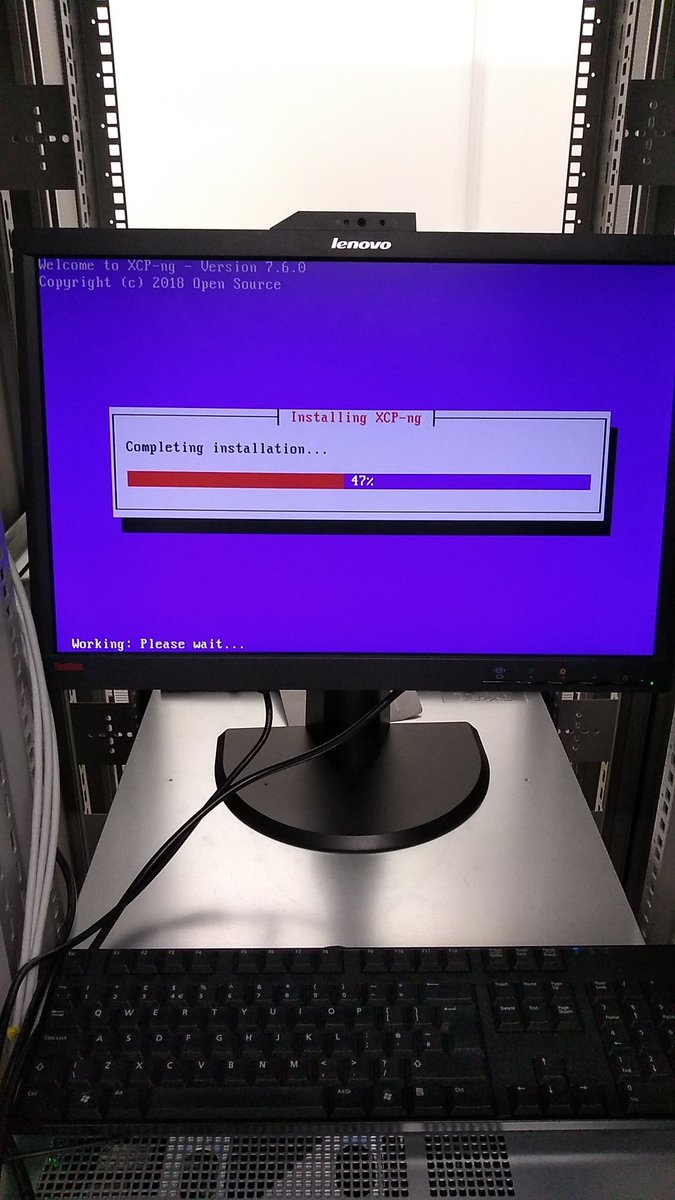
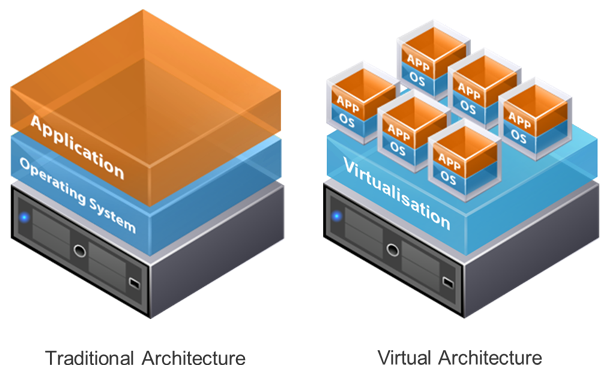
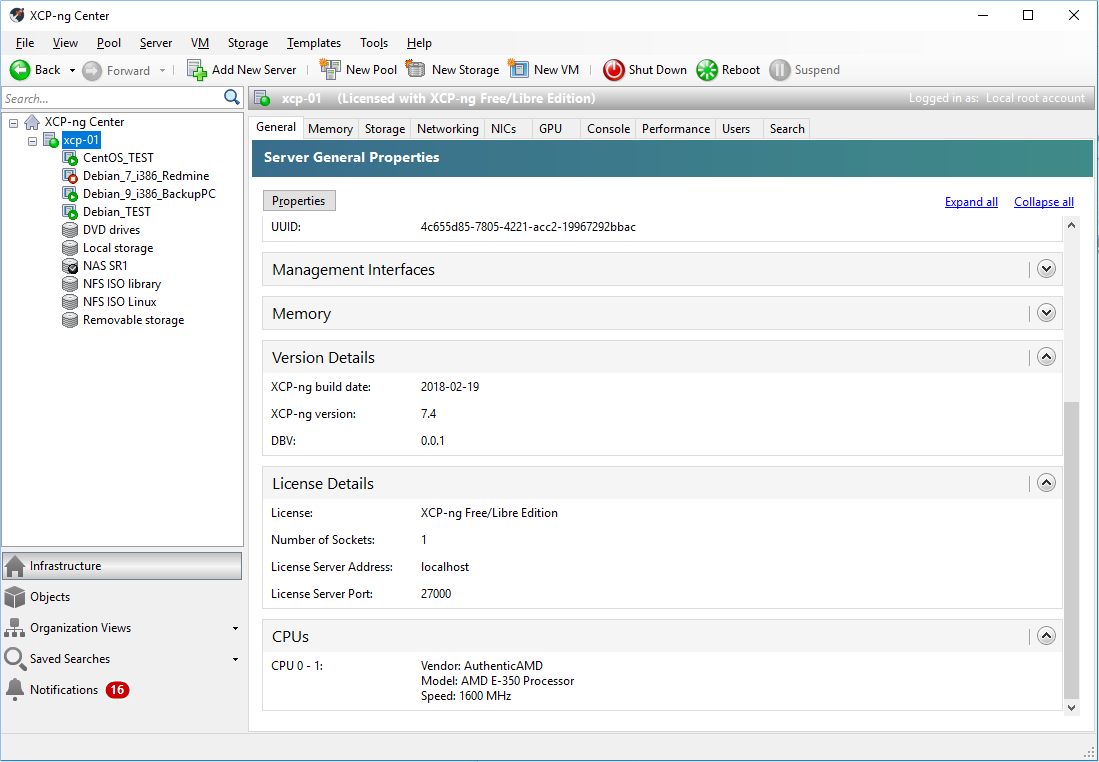
You install as you would any other host OS, and connect your networks, storage repositories etc. as per the documentation. When done, you normally either manage your VMs at the command line (expertise required) or using the XCP-ng Center tool (installation permissions required) from your desktop PC (XCP-ng Center is also available from files.comp.dkit.ie).
Xen Orchestra provides a much needed third option, a web interface to visualise and administer your XenServer (or any XAPI enabled) hosts with no agent required for it to work. It aims to be easy to use on any device supporting modern web technologies (HTML 5, CSS 3, JavaScript), such as your desktop computer or your smartphone.
XOA
Xen Orchestra Virtual Appliance (XOA) is a virtual machine with Xen Orchestra already installed, thus working out-of-the-box. The XOA in question here is one we built ourselves using the community edition of Xen Orchestra, NOT the version supplied with Pro Support by the French company Vates. For transparency we built it using the GitHub project xenorchestra_installer. So when we refer to XOA anywhere in this tutorial we are referring to a VM built from the template containing this version of Xen Orchestra. As it is based on the community version of the project, some features will be missing eg. automatic updates. But nothing we can’t do without for a class environment.
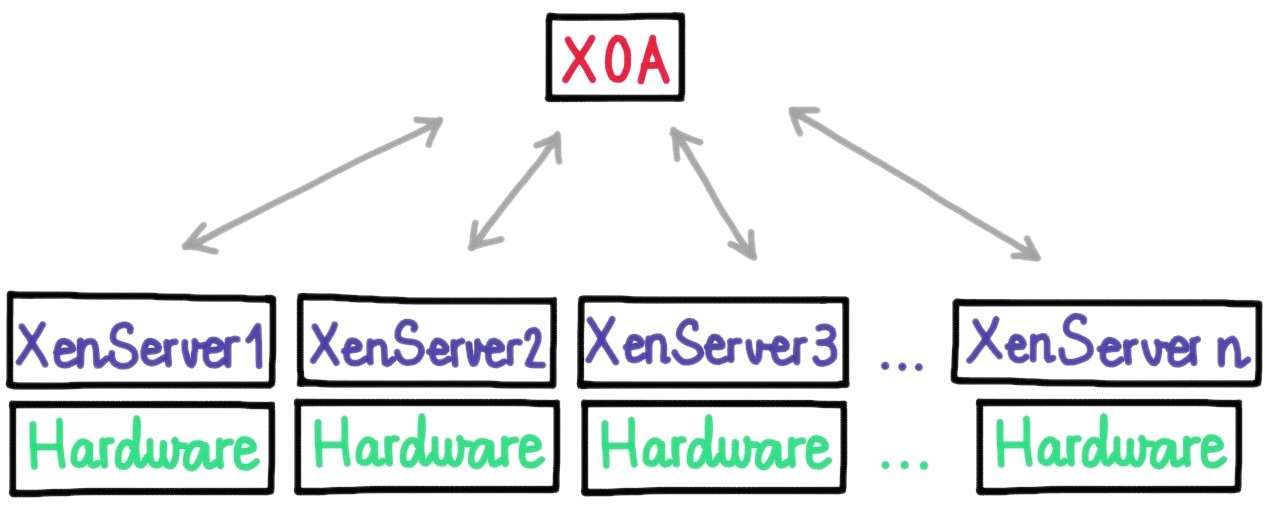
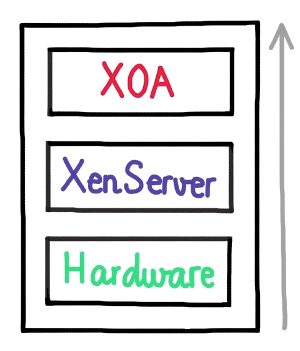
Your XOA will be connected to all your hosts, or just the pool master if you are using “Pools” in XenServer/XCP-ng.
Xen Orchestra (XO)

Xen Orchestra itself is built as a modular solution. Each part has its role:
- The core is “xo-server” – a daemon dealing directly with XenServer or XAPI capable hosts. This is where users are stored, and it’s the center point for talking to your whole Xen infrastructure.
- The web interface is “xo-web” – it runs directly from your browser. The connection with xo-server is done via WebSockets.
- “xo-cli” is a module allowing you to send commands directly from the command line.
There are other modules as well (like the LDAP plugin for example, used to log students into https://xoa.comp.dkit.ie).
Configuration
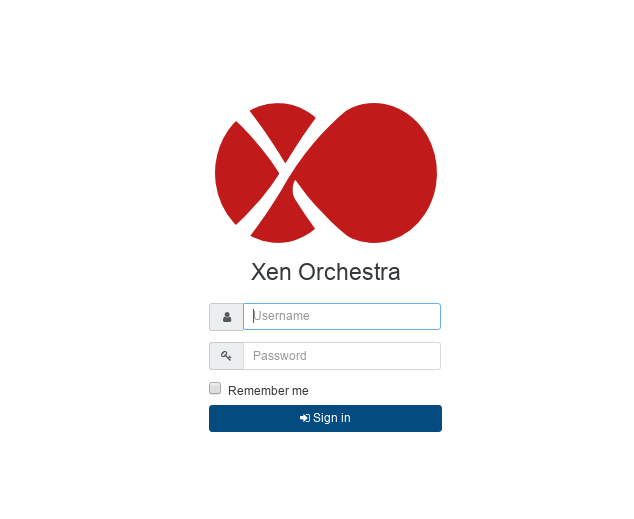
Once you fire up an instance of XOA, you can login with the usual lab credentials, or with the default XOA credentials admin@admin.net/admin.
Tip: Want to customise the login page? Have a look at PUG!
You now need to point your Xen Orchestra at your XenServer or XCP-ng master server (it is advised if you have multiple servers to “pool” them first, but you can also do this later on via the Xen Orchestra interface).

Simply fill in the details of your first host machine and click connect to add this server, or the entire pool for which it is a master, to Xen Orchestra.

Once done, you will now be able to create and manage VMs via Xen Orchestra! Simple.
From here, you should check the official documentation on what else you can do with this amazing tool.
Note: It is assumed you have already added your storage repositories to the pool as per your lecturer’s instructions in class. Without doing this, you may not be able to access ISO files with which to install operating systems on to new VMs.