Serverless computing is a cloud-computing execution model in which the cloud provider dynamically manages the allocation of machine resources.
The code is typically run inside stateless containers that can be triggered by a variety of events including http requests, database events, queuing services, monitoring alerts, file uploads, scheduled events (cron jobs), etc. The code that is sent to the cloud provider for execution is usually in the form of a function. Hence serverless is sometimes referred to as “Functions as a Service” or “FaaS”.
OpenFaaS makes it simple to turn anything into a serverless function that runs on Linux or Windows through Docker Swarm or Kubernetes.
Let’s write a Python function with OpenFaaS that executes a hello-world type function and then move onto something more complicated in later tutorials. We’ll start by deploying OpenFaaS on a Docker Host (inside XOA) and then we’ll install the CLI and write the handler for our function. Hold tight!
Once you’ve fired up a Quick Instance of “Docker Host (with Dockly)” we’ll get FaaS deployed.
git clone https://github.com/openfaas/faas
Initialize “Swarm mode” on your Docker daemon.
docker swarm init
You now have a single-node Docker cluster. That’s all we need – so now we can deploy the FaaS stack and sample functions:
cd faas
./deploy_stack.sh
Note how when the stack is deployed it creates login credentials. You will need these when you go to access the UI in your browser, so take note. Something like this:
Attempting to create credentials for gateway..
ke1egeqsovyw1p004xyhrtua6
n8hp998sl0fujq4ch9lb6mt60
[Credentials]
 username: admin
 password: 0f6f50b4d582f75719a78dfe59c9d9e1f5536e1a2370a77afc3cc4a40f5ea825
The UI we mentioned is available on port 8080 of your VM’s IP address eg. http://10.108.159.24:8080.
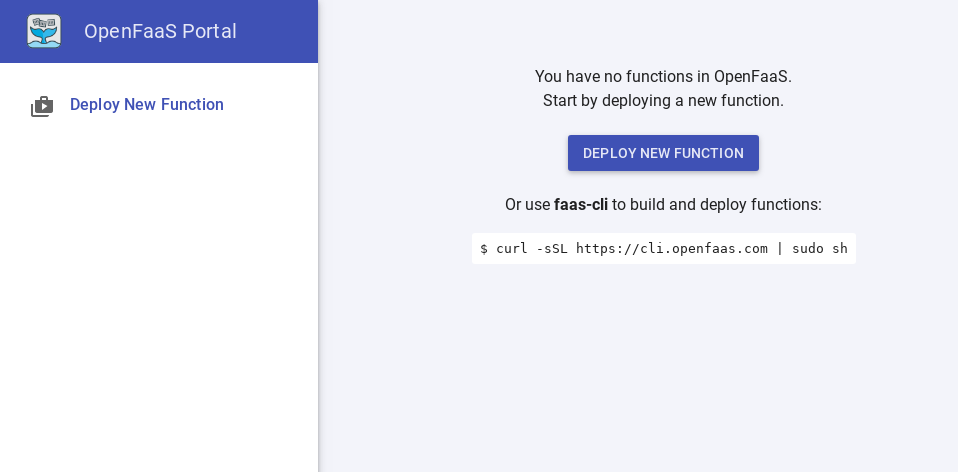
The OpenFassS CLI (Command Line Interface) is a convenient way to interact with your functions. You can use it to build and/or deploy functions to your cluster. Install it with:
curl -sSL https://cli.openfaas.com | sudo sh
Now create a new folder for your work:
mkdir -p ~/functions && cd ~/functions
Now let’s scaffold a new Python function using the CLI:
faas-cli new --lang python hello-python
This creates three files for you:
hello-python/handler.py
hello-python/requirements.txt
hello-python.yml
Let’s edit the handler.py file (be sure to cd into hello-python/) by adding the following:
def handle(req):
    print("Hello! You said: " + req)
All your functions should be specified in a YAML file like this – it tells the CLI what to build and deploy onto your OpenFaaS cluster.
Checkout the YAML file hello-python.yml:
provider:
  name: faas
  gateway: http://localhost:8080

functions:
  hello-python:
    lang: python
    handler: ./hello-python
    image: hello-python
gateway– here we can specify a remote gateway if we need to, what the programming language is and where our handler is located within the filesystem.functions– this block defines the functions in our stacklang: python– even though Docker is used behind the scenes to package your function. You don’t have to write your own Dockerfile unless you want to.handler– this is the folder / path to your handler.py file and any other source code you needimage– this is the Docker image name. Tip: If you are going to push to Docker Hub later, change the prefix from hello-python to include your Docker Hub account – i.e. bloggsj/hello-python
So let’s build the function.
$ faas-cli build -f ./hello-python.yml
...

Successfully tagged hello-python:latest
Image: hello-python built.
You’ll now see output from the Docker Engine as it builds your function into an image in your local Docker library. You’ll see the image appear on docker images
For example you could run:
$ docker images | grep hello-python
hello-python        latest       e0344b26305f     one minute ago
If you’re just trying things out on a single host (which we are), then you don’t need to push your images to a registry, they’ll just be used from the local Docker library.
Let’s go back to the UI and deploy our function. Click “Deploy New Function” and select “Custom” as we are supplying out own function.

In this case it’s as easy as entering “hello-python” for both the image name and the function name. Once our function is created, it will become available in the sidebar.
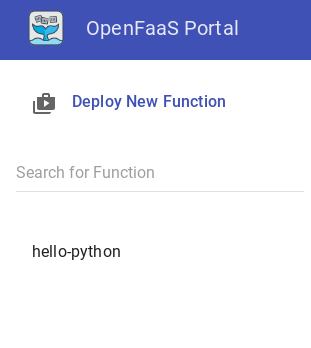
Click on it to see the details:
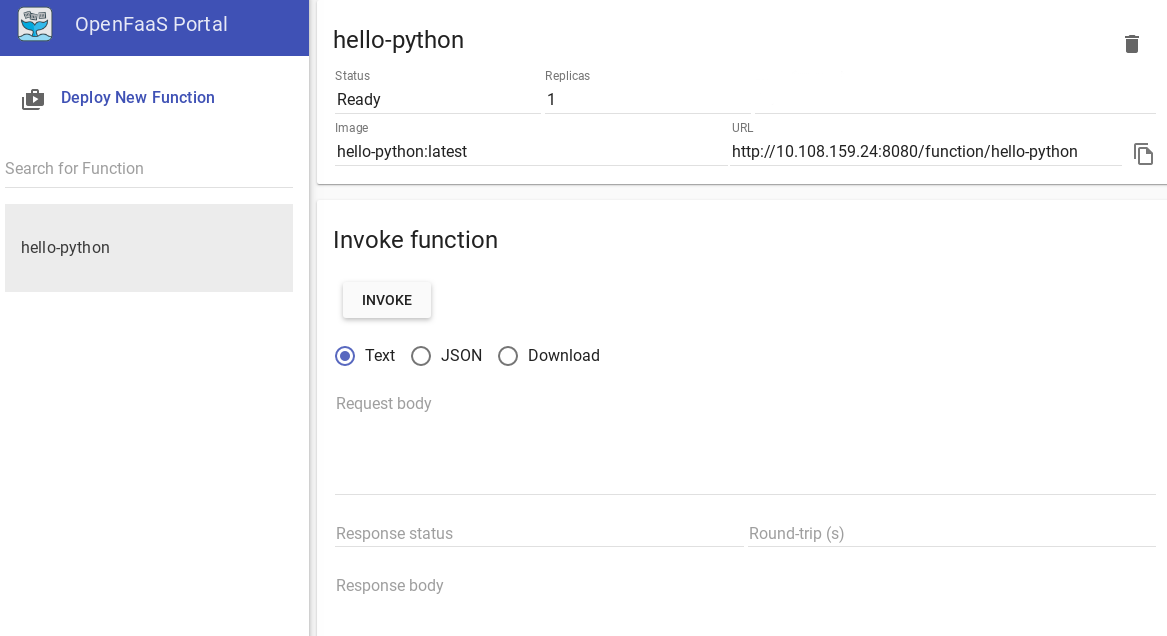
Looks good! Let’s give it a try. Fill in some text for the Request Body and hit the Invoke button.
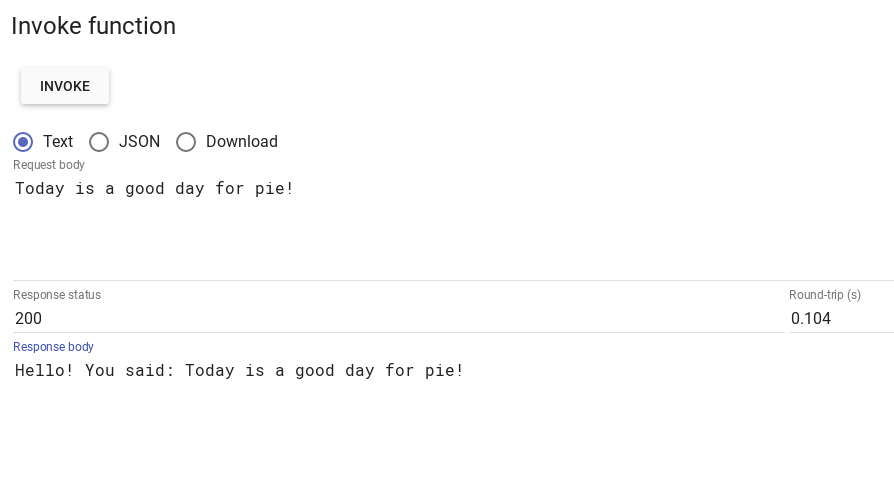 As you can see, the function responds with:
Hello! You said: Today is a good day for pie!
You can try the exact same test with the curl command via a Terminal on another Linux machine or using the Linux Bash Shell in Windows 10:
student@linux:~$ curl http://10.108.159.24:8080/function/hello-python -d "Today is a good day for pie!"
Hello! You said: Today is a good day for pie!
You have now invoked your first “serverless” function. Well done!
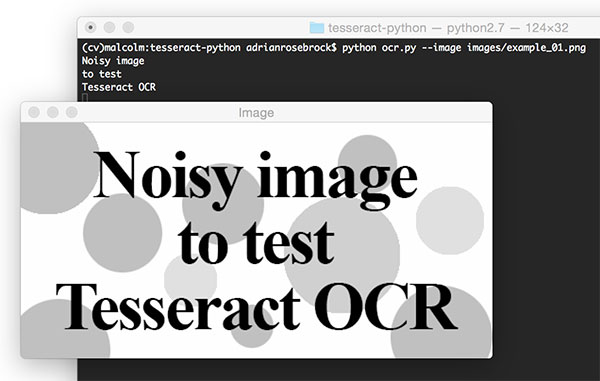
You can probably see as a developer how useful this concept will be to you as you develop more complex applications in the future. Take for example openfaas-ocr which performs OCR (Optical Character Recognition). All it requires an input is a URL or base64 encoded string of image with .jpg, .jpeg or .png extension. Give it a go if you are feeling adventurous!
Tip: you can also deploy an OpenFaaS stack inside http://docker.comp.dkit.ie